
Making a desert scene with a broken stone face in Photoshop
Hello People! Today we are going to create a scene of a desert with an ancient broken stone face in the middle. Basically we’re going to experiment with some tools and techniques to create an old ancient weathered look of the stone. So note down the things we are going to use to create this scene. First we’ll need a portrait of a girl (who’s face we’ll use) which is taken from big stock, an image of the desert also taken from bigstock, an image of clouded sky, an image of dry patched earth and with these our favorite Photoshop.
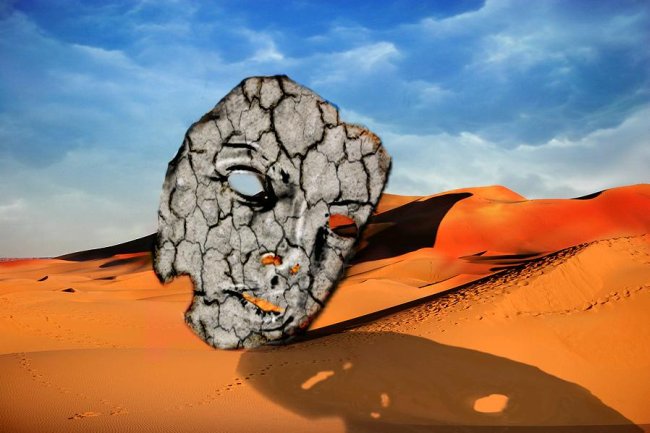
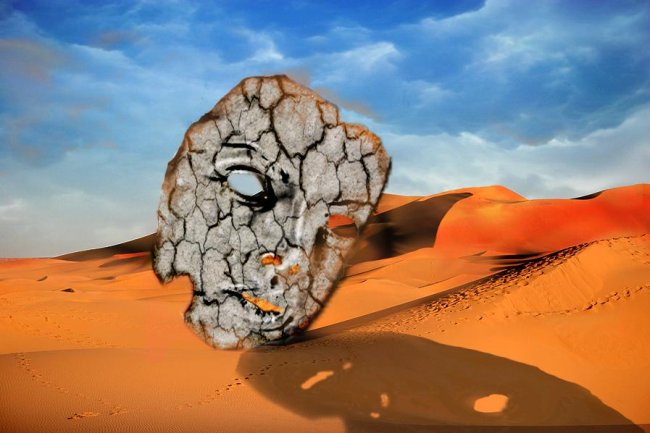
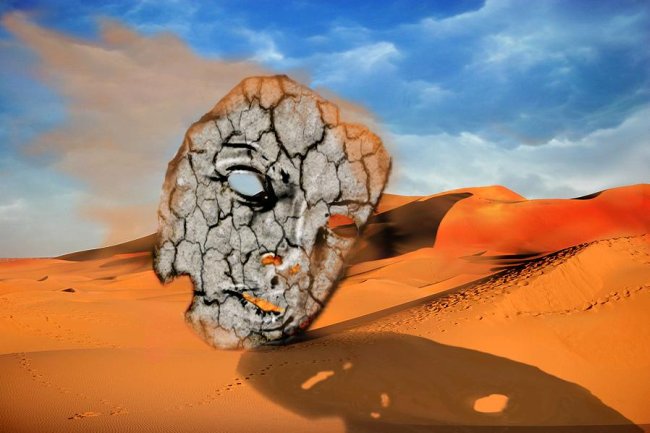
Take a look at the final result before going ahead with the tutorial.

Step1:-
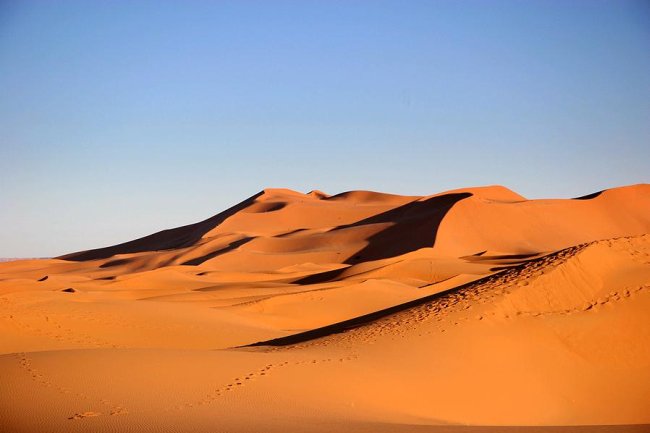
Let’s start by opening the desert picture in Photoshop (double click to unlock the image and make it a layer).
Step2:-
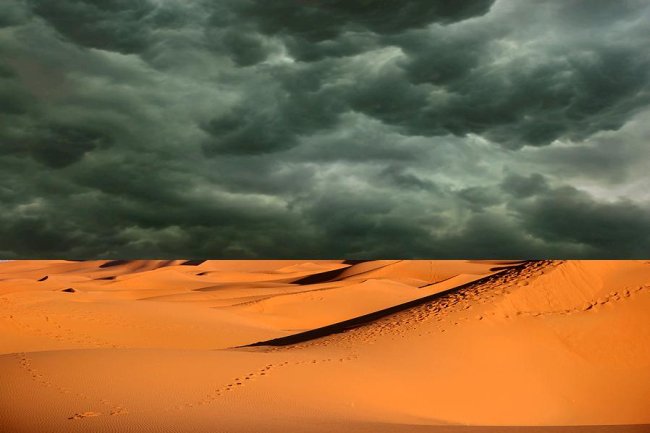
Open the clouded sky image copy the complete image and paste it on our desert layer.
Step3:-
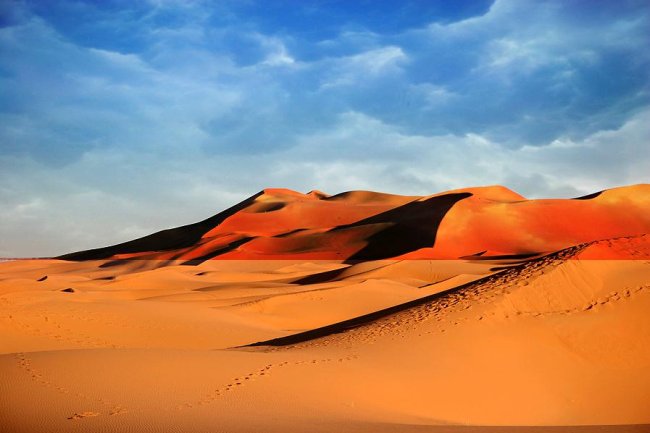
Set the Blend Mode of clouded sky layer to Overlay and leave its Opacity to 100%.
Step4:-
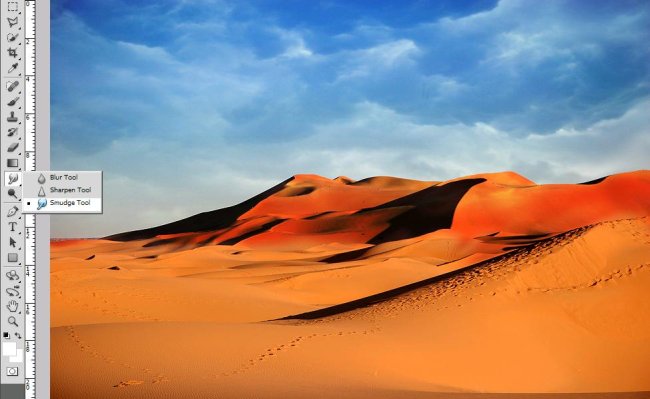
Use smudge tool to blend the lower edge of the clouded sky with desert.
Step5:-
Now open up the girl’s portrait and select only the face of the model using Quick Selection Tool. Copy it.

Step6:-
Paste the cutout face to our desert background and adjust its size by pressing Ctrl+t.
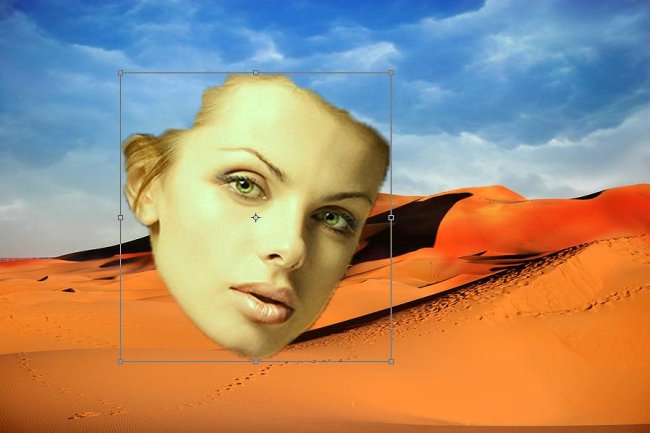
Step7:-
Remove the uneven edges using Eraser Tool. Now you should have a face similar to the image shown below.
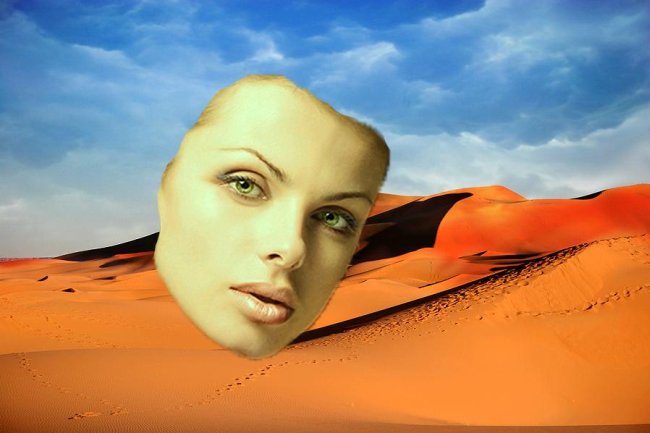
Step8:-
Now go to Filter>Stylize>Emboss and make the settings according to the picture shown below.
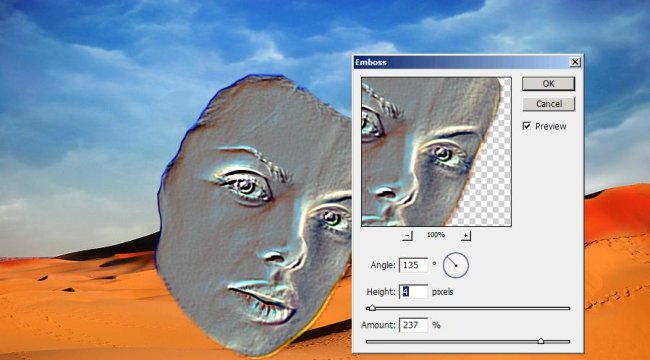
Step9:-
Cut out the eyes; make slits for nostrils and a very small gap between lips using Eraser.
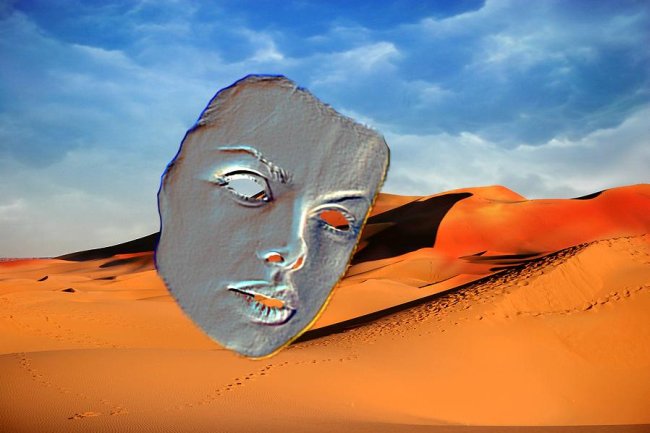
Step10:-
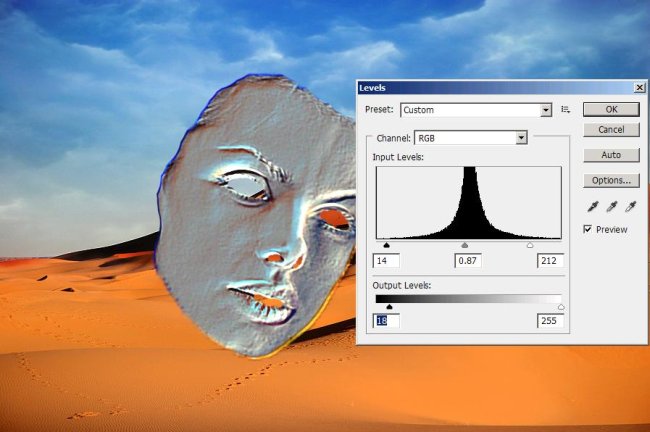
Now go to Image>Adjustments>Levels and make the settings according to the picture shown below.
Step11:-
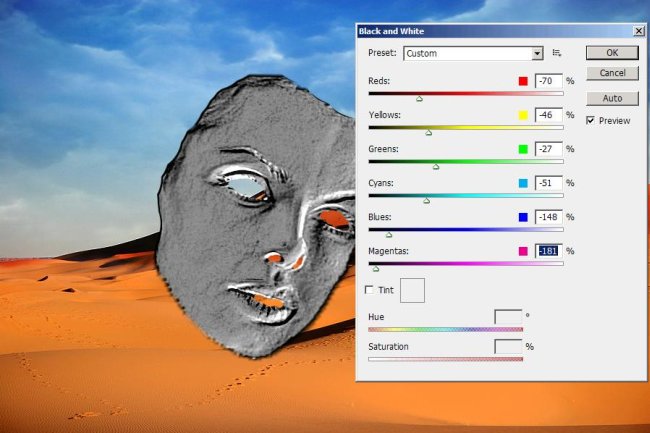
Now again go to Image>Adjustments>Black & White and make the settings as shown below in the picture.
Step12:-
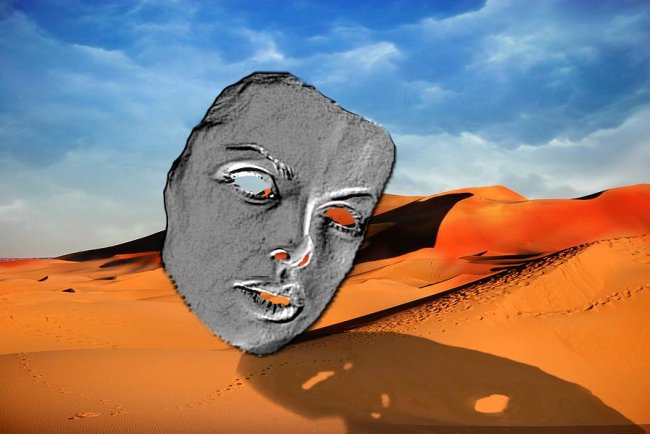
Now we’re going to create a shadow of the face, to do that duplicate the face layer and press Ctrl+t. Now rotate the copied image and stretch it (similar to the picture shown below). Go to Image>Adjustments>Black & White and turn it absolutely black (cover the shiny areas with black paint using a hard round brush). Set the Blend Mode of the duplicate layer to Normal, Opacity 100% and Fill will be 51%.
Step13:-
Open up the dry earth image copy it and paste it on the face. Remove the extra edges and slits of eyes, nose and lips using Eraser. Set the Blend Mode of earth layer to Overlay and reduce the Opacity to 75%.

Step14:-
Now we’re going to deepen the cracks (you can use Burn Tool for that). I’ve used simple soft round brush of size 6px with color #000000. Create a new layer name it cracks and draw on some of the cracks of dry earth layer. Set the Blend Mode of this layer to Overlay.
Step15:-
Now we are going to put some sand on the stone face. Make a new layer name it sand on face. Select a soft round brush of size 25px with color #ea823d and paint over the face. Set the Blend Mode of this layer to Lighter color and reduce the Opacity to 61%.
Step16:-
Now we are going to blow sand with the wind. Create another layer name it wind and paint with soft round brush of size 25 px and color # ea823d. Use the smudge tool to give the effect of sand blowing with wind. Reduce the Opacity of this layer to 65%.
Step17:-
Repeat the process of step 16 to give a bit of a color of sand to the sky as well.

There you go; your desert scene with an ancient stone face is finished. Hope you had fun. Do share your thoughts. We’ll meet again soon with something new, till then take care and enjoy creativity.


