
How to make water splash dance in Photoshop
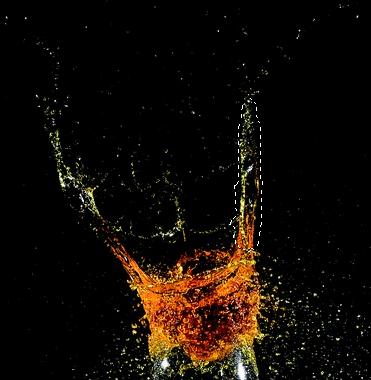
Hey people! Today we are going to make water splashes dance in Photoshop (how’s that for an idea ![]() ). It’s not only very attractive to look at but a great fun to create. So let’s just roll up your sleeves and get to work. Let’s count the ingredients for our fabulous image here; first of all we’ll need an image of a water splash (I got it from flikr, so rights are reserved to the owner) then we’ll need some dancers’ image which is taken from bigstock and with these 2 images just our Photoshop.
). It’s not only very attractive to look at but a great fun to create. So let’s just roll up your sleeves and get to work. Let’s count the ingredients for our fabulous image here; first of all we’ll need an image of a water splash (I got it from flikr, so rights are reserved to the owner) then we’ll need some dancers’ image which is taken from bigstock and with these 2 images just our Photoshop.
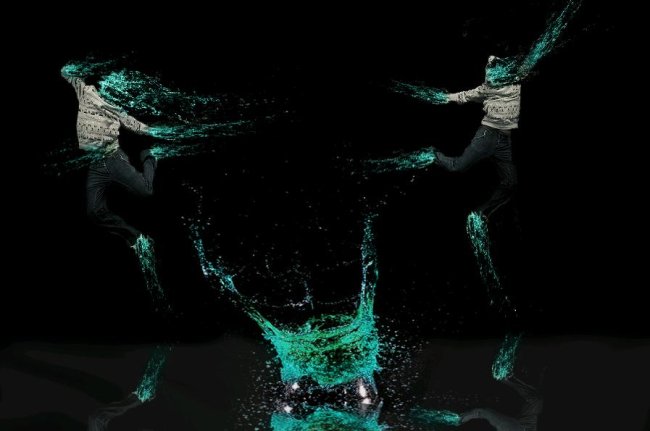
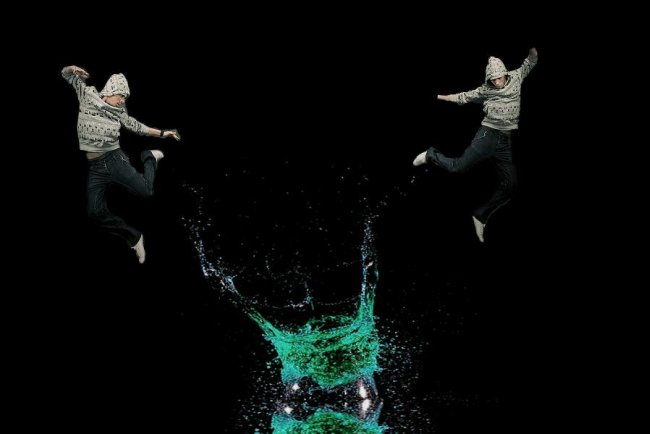
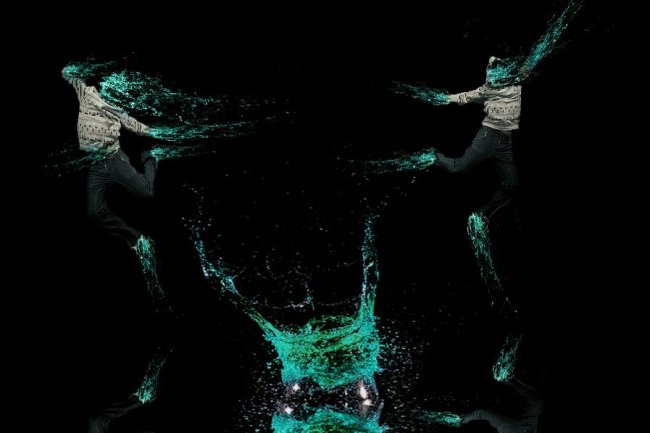
Take a look at the final result before starting with the tutorial.
Step1:-
Let us start by creating a new document in Photoshop of size 900×600 pixels. Fill this document with black color #000000.

Step2:-
Open the splash image copy the splash and paste it on our black background. Change the color of the splash if needed by going to Image>adjustments>Hue/Saturation.

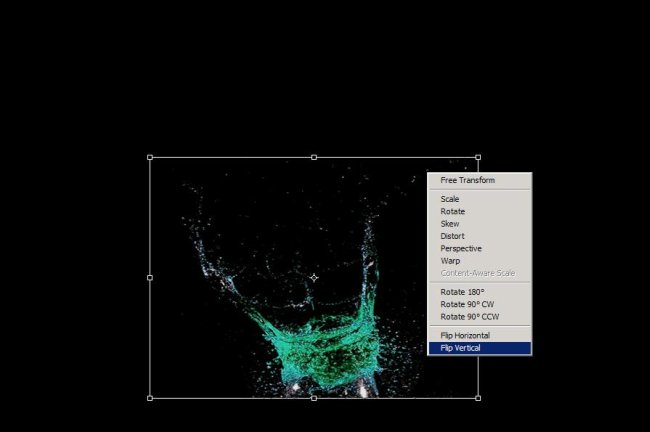
Step3:-
Duplicate this splash layer and press Ctrl+t then Right click on the selection and choose Flip Vertical (as shown in the picture below)
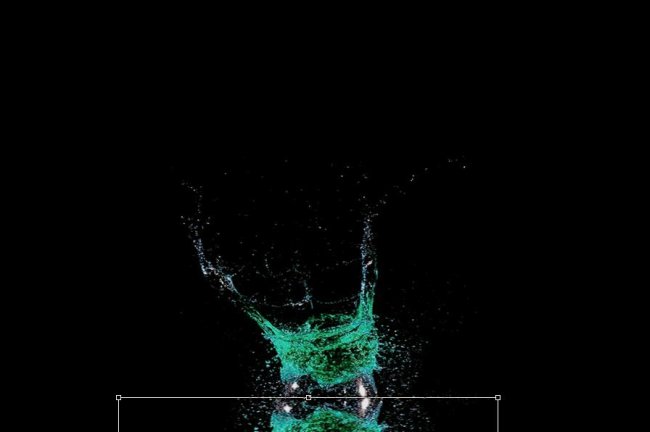
Step4:-
Place the flipped copied image according to the picture given below to create a reflection.
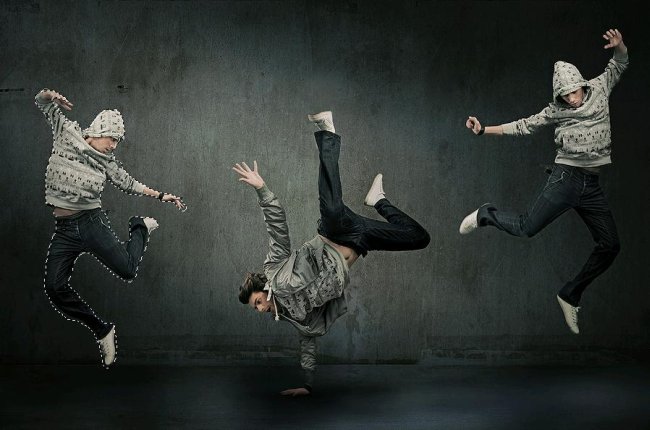
Step5:-
Open up the dancers’ image and cut one of the dancers out using Quick Selection Tool.
Step6:-
Paste it on our working image (place it according to the picture shown below). Repeat the process of step 5to cut the 2nd dancer out and paste it on our image as shown below.
Step7:-
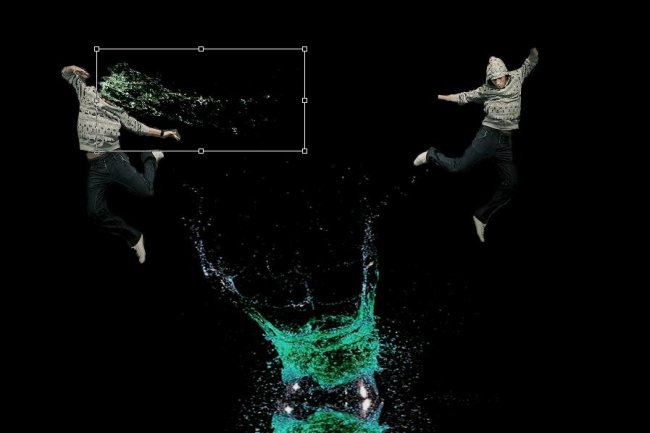
Now again open the splash image and select one of the splash from it using Quick Selection Tool (as shown in the picture blow). Copy it.
Step8:-
Paste the splash on our working image and place it over the face of the first dancer (as shown below). Press Ctrl+t to rotate and adjust the size of the splash.
Step9:-
Now repeat the same process of step 7 and 8 and place the splashes over the dancers’ hands, face, and feet.
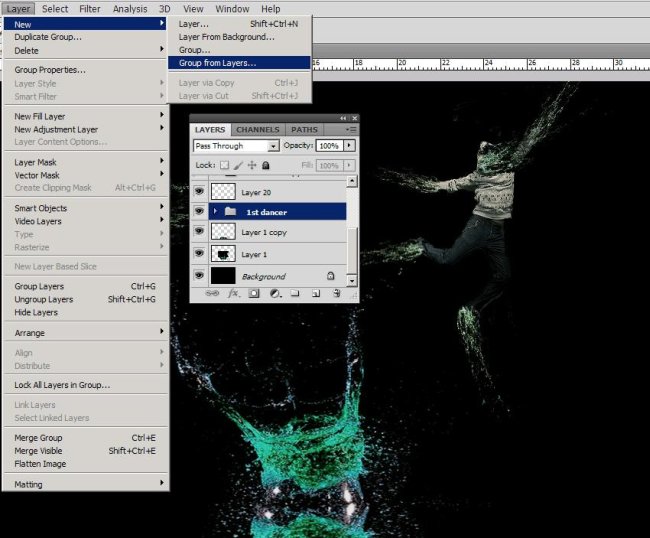
Step10:-
Now make a group of all the layers of splashes for 1st dancer, 1st dancer included by going to Layer to New to Group from layers. Name the group 1st dancer. Do the same for 2nd dancer as well.
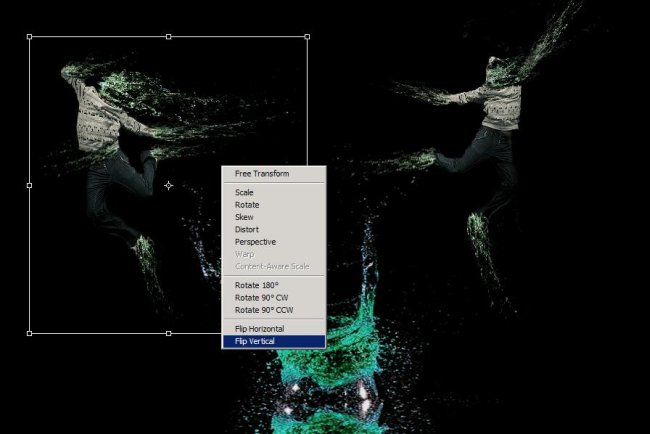
Step11:-
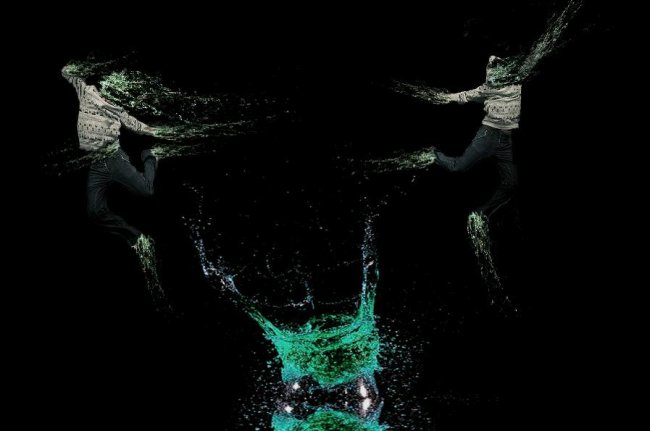
Now duplicate the group of 1st dancer, press Ctrl+t and right click on the selected dancer choose Flip Vertical to create a reflection.
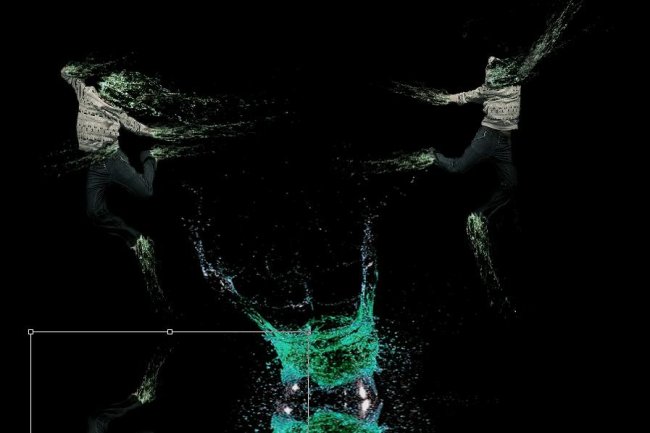
Step12:-
Place the flipped image according to the picture shown below using Move Tool.
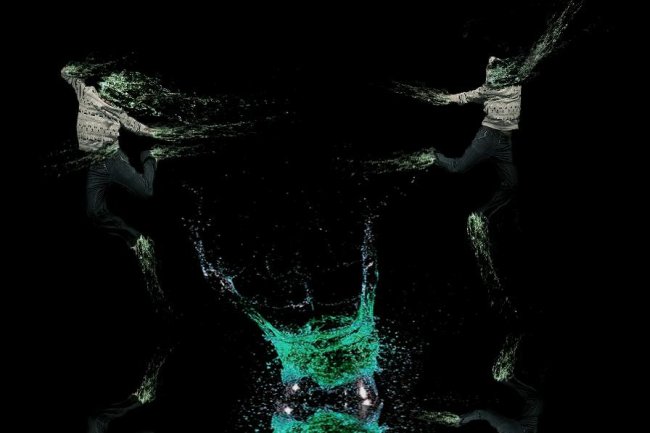
Step13:-
Repeat the same process for the 2nd dancer and place it also according to the picture shown below.
Step14:-
Now we are going to color our splashes with a brighter teal. Create another layer and name it color. Select a soft round brush of size 25 px with color #1cbab3 and paint over the splashes. Set the Blend Mode of the layer to Color and reduce the Opacity to 65%.
Step15:-
Now we are going to add an effect of mirrored floor, for that again select a soft round bush of size 35px with color #454444 and draw some lines (horizontal or vertical that’s up to you). Now select the Smudge tool and make strokes, mix up the lines to create a bit of a foggy effect (as shown in the picture below).Reduce the Opacity of this layer to 29%.

There you have it. Your scene of splash dancers is complete. Hope you had fun. Do share your thoughts. I’ll be back with something new and fresh for you, till then take care and be great.


