
How to make a tree of death in Photoshop
Hello friends! Today we’re going to create an eerie scene with a tree of death growing out of the chest of greed (sounds literary ![]() ). I’m sure you’ll have fun making it with me so let’s get started. The things we’ll need for this scene are; an image of a lone tree in a landscape which I’ve taken from bigstock, a treasure chest also from bigstock, some crows and an image of a clouded sky and with all these our very own Photoshop.
). I’m sure you’ll have fun making it with me so let’s get started. The things we’ll need for this scene are; an image of a lone tree in a landscape which I’ve taken from bigstock, a treasure chest also from bigstock, some crows and an image of a clouded sky and with all these our very own Photoshop.
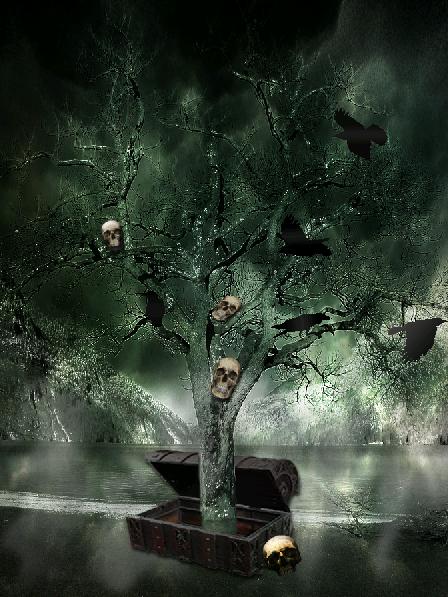
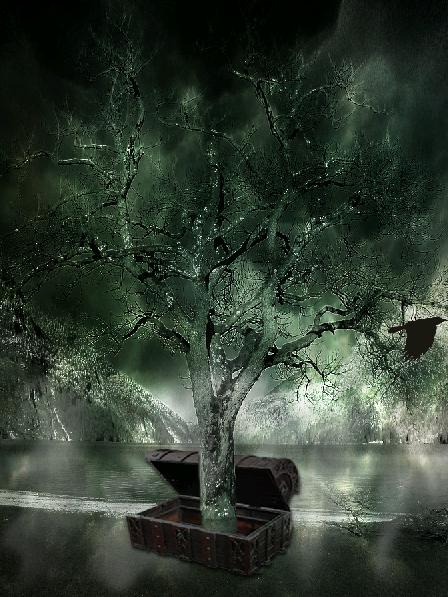
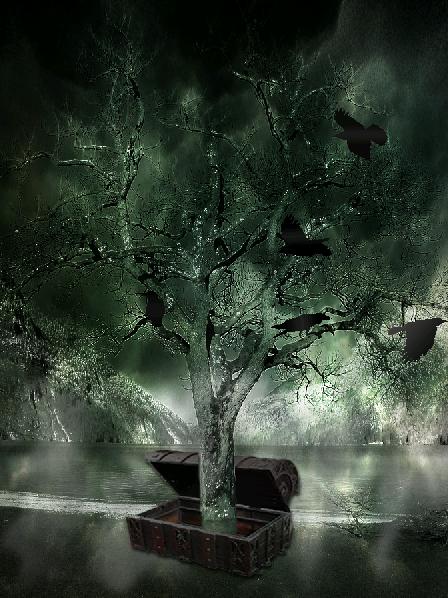
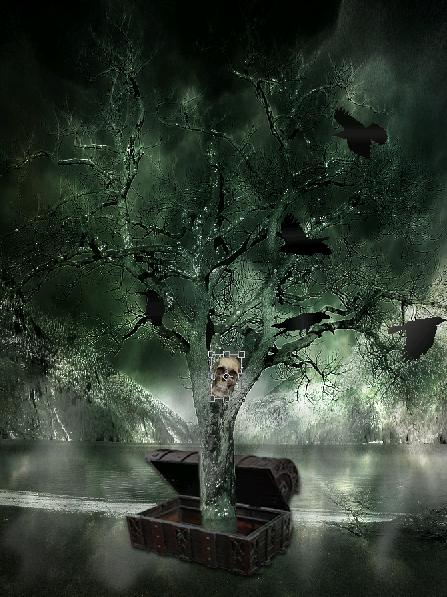
Let’s take a look at the final image before moving ahead.
Step1:-
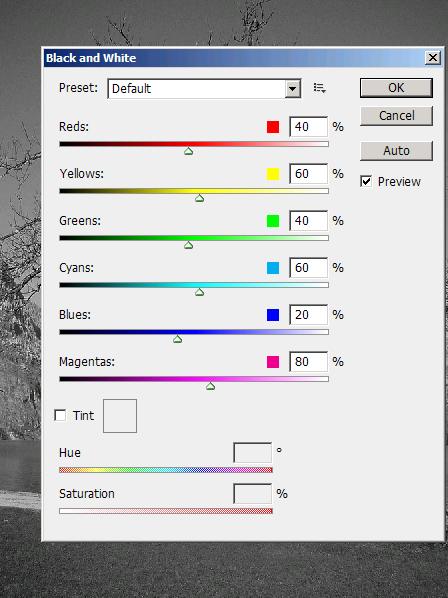
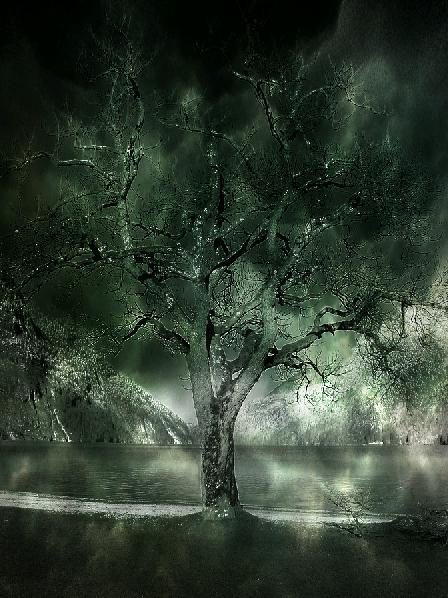
Open up the tree image, make it a layer (by double clicking on it and the go to Image>adjustments>Black & white.
Step2:-
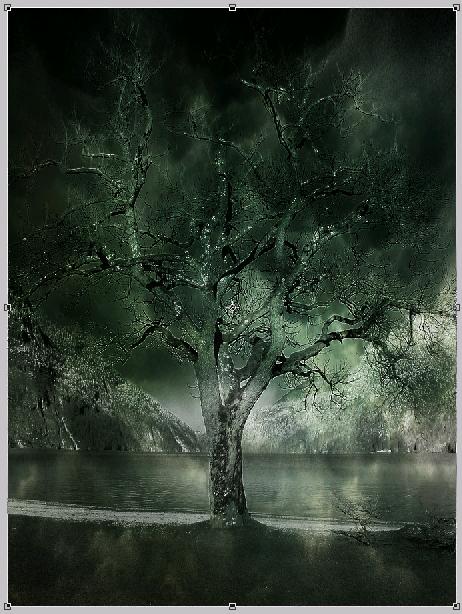
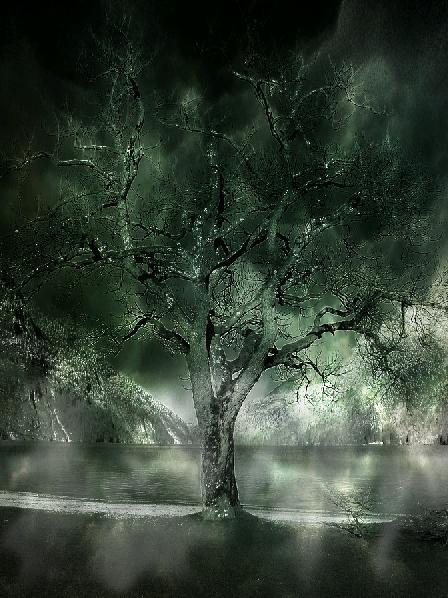
Open the clouded sky image copy the complete image and paste it on our tree layer. Spread the clouded sky over the tree layer completely.
Step3:-
To make the sky more dark and eerie copy the clouded sky image once again and paste it on our working image but this tome paste it only over half upper image. Blend the lower edge of the layer using Smudge Tool.
Step4:-
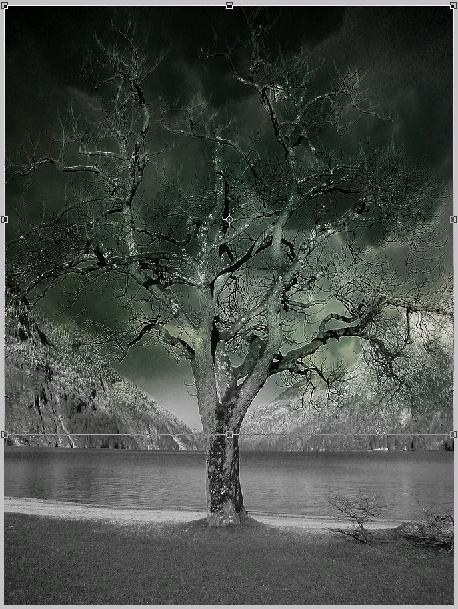
Now we are going to add some light fog over the water. To do that, select a soft round brush of size 20px with white color #ffffff and paint over water just click on few places then select smudge tool and spread the paint like fog (do strokes).
Step5:-
Now we will add some more fog but a bit thick this time over the grassy area of the image. Repeat the process of step 4 but choose the color #4f4f4e for this step.
Step6:-
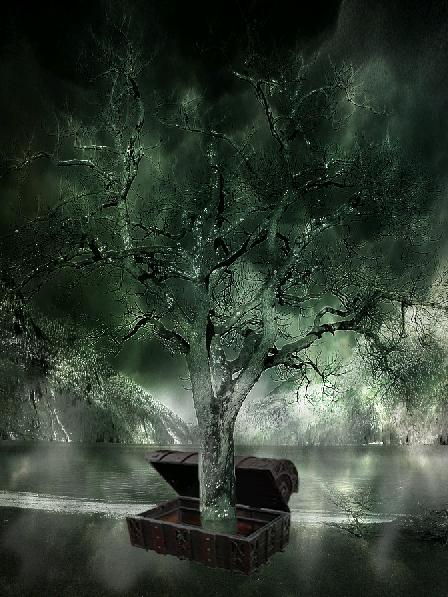
It’s time to add the treasure chest in the image. Open the chest image and cut out the chest from its background and paste it on our image. Remove the area of the tree trunk so it looks like its growing out from the chest.
Step7:-
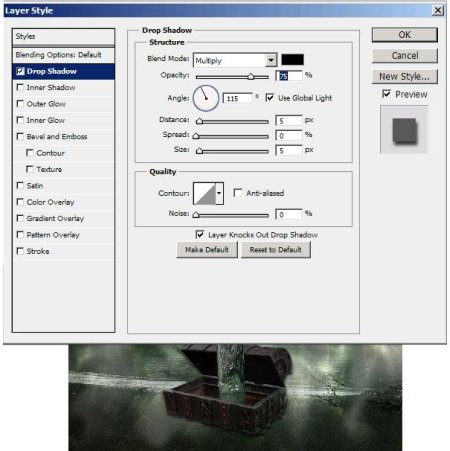
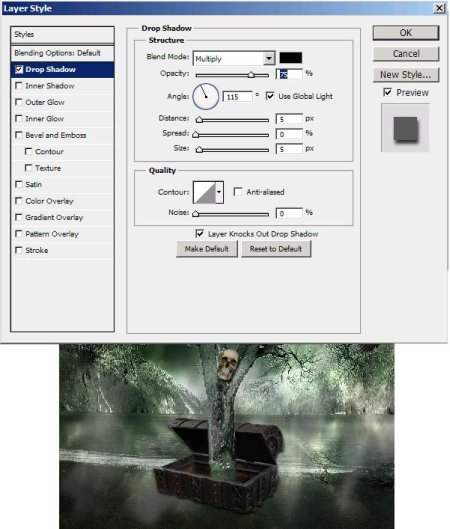
Now we’ll add the drop shadow effect for the chest. Go to the chest layer, Right click on it go to Blending Options and check on drop shadow. Make the settings according to the picture shown below.
Step8:-
Open up the crows’ image, select a crow and cut it out from the image using Quick Selection Tool.
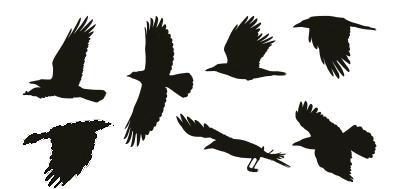
Step9:-
Paste the crow on our image (you can choose the placing as you like).
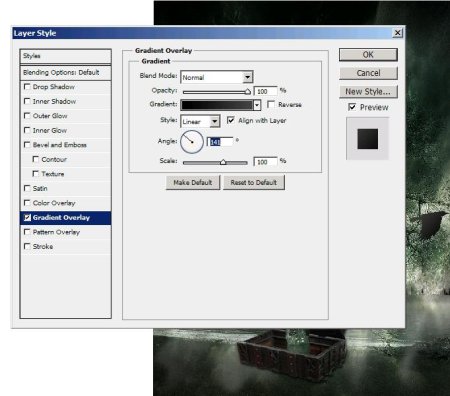
Step10:-
Now we are going to add a bit of gradient to make the crown a bit prominent and matching to the image. Right click on the crow layer, click on the Blending options in drop down menu and then check the Gradient Overlay. Make the settings according to the picture shown below.
Step11:-
Repeat the process of step 9 and 10 for 3 to 4 more crows.
Step12:-
Now we are going to place some skulls over some stems and with the chest. Open up the skull image, cut it out from its background and paste it on our image. Re-size it according to the picture given below by pressing Ctrl+t.
Step13:-
Now we’ll add drop shadow to our skull. Right click on the skull layer, go to Blending options and check Drop shadow. Make the settings according to the picture given below.
Step14:-
Repeat the process of step 12 and 13 for more skulls and place them around as shown in the picture below.

Okay now our tree of death scene is complete. Hope you had fun. Share your thoughts. I’ll be back with something different and fun to make, till then you take care and be creative.


