
How to make a beautiful wallpaper in Photoshop
Hello friends! Today we’re going to play with colors to make a stunning wallpaper. The main tool for this poster is Pen tool of Photoshop. So let’s see what are the things we’ll need for this image? First of all a portrait of a young woman which I’ve taken from bigstock, an image of clouded sky (you can make the clouded by going to Filter>render>clouds) and with that all we need is our Photoshop.
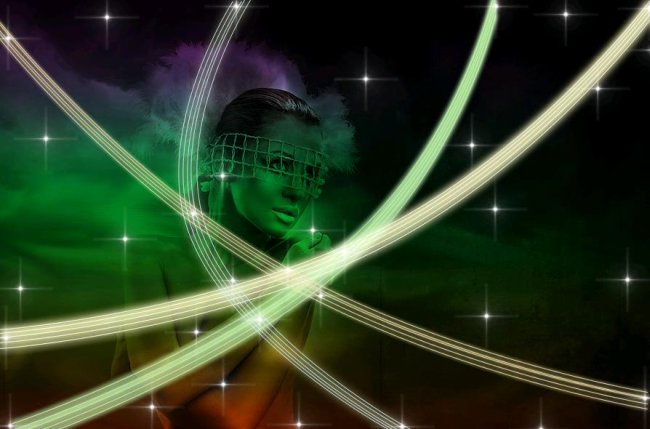
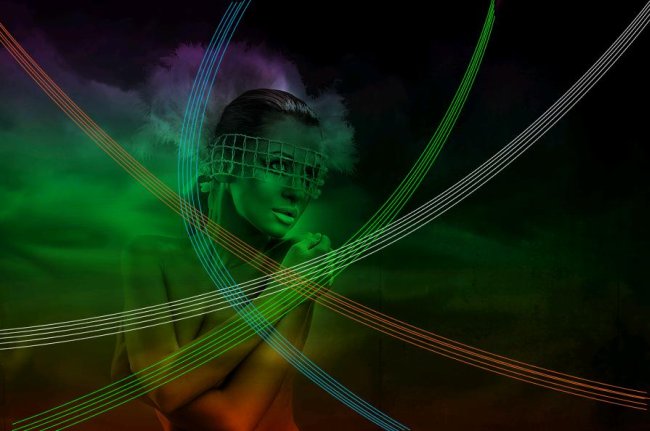
Do take a look at the final result of the image before moving ahead.
Step1:-
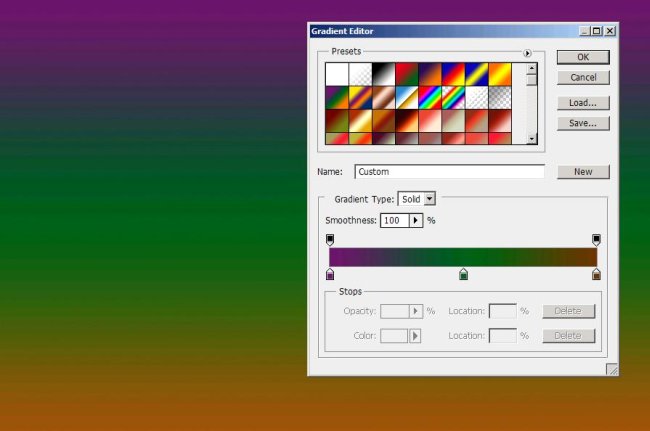
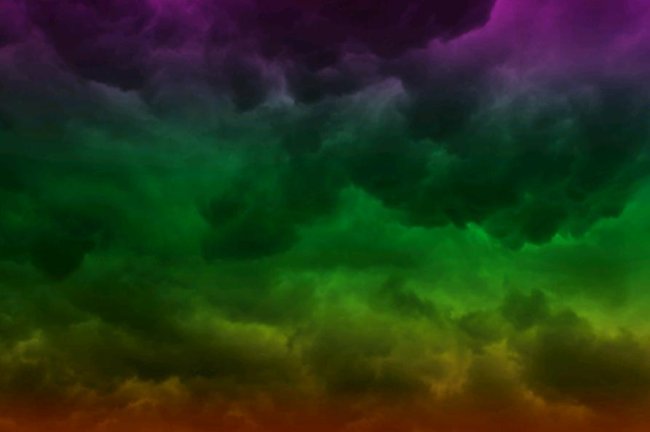
Let’s start by creating a new document in Photoshop of size 900×600 pixels. Fill it with a multicolored gradient. Three colors used in the gradient are #6f156c, #00601b, #6c3603 (left to right).
Step2:-
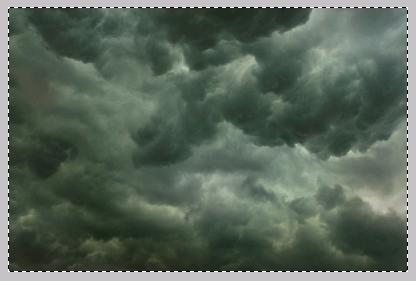
Open up the clouds image and copy the complete image.
Step3:-
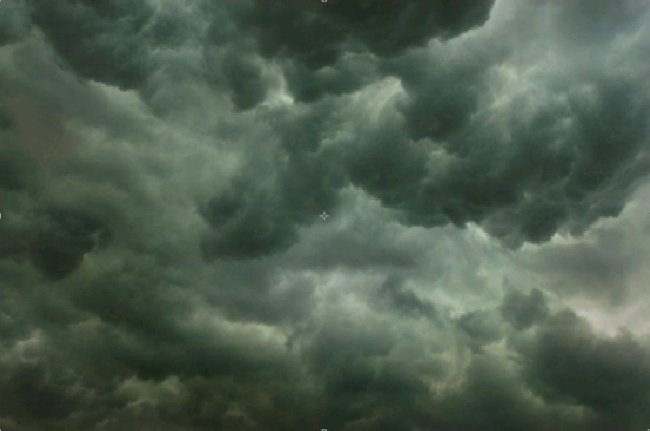
Now paste it all over our multicolored background. Press Ctrl+t to re-size the layer.
Step4:-
Set the Blend Mode of the clouds layer to Overlay and leave the Opacity to 100%.
Step5:-
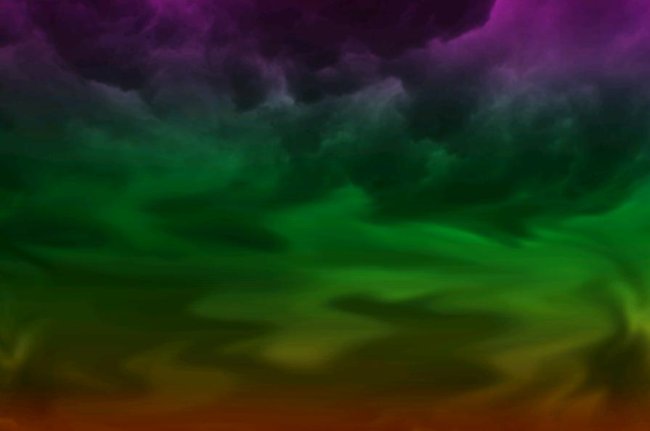
Select the smudge tool and make strokes on the lower part of the layer to merge it with the background.
Step6:-
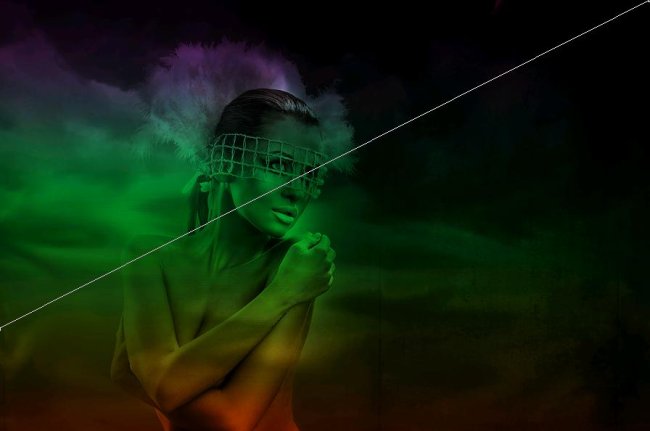
Now open the portrait of the woman and copy it then paste it to our background. Set the Blend Mode of this layer to “Overlay” as well.

Step7:-
Okay now a very interesting part is starting. Select a hard round brush of size 1 px with white color #ffffff, then select the pen tool and make a line as shown in the picture below.
Step8:-
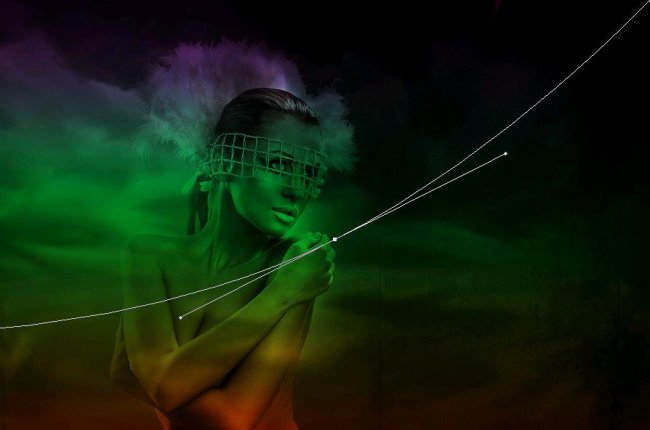
Now add the anchor point and make the line semi circular (as shown in the picture below).
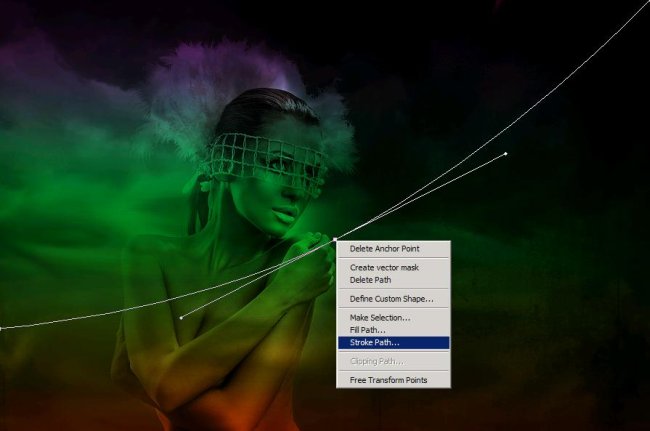
Step9:-
Now Right click on the path and select stroke path as show in the picture given below.
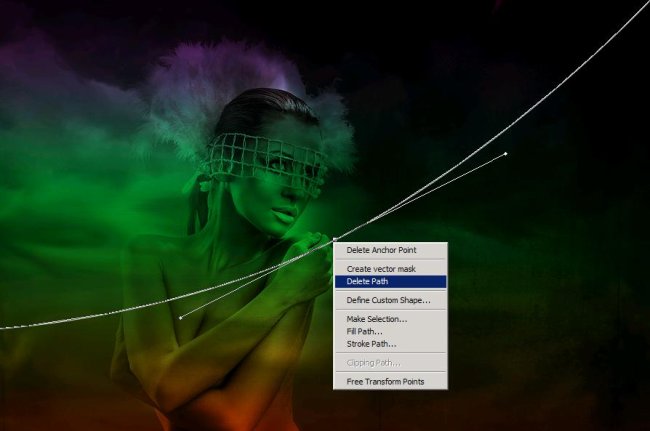
Step10:-
Again Right click on it and select delete path. Now you have a semi circular line.
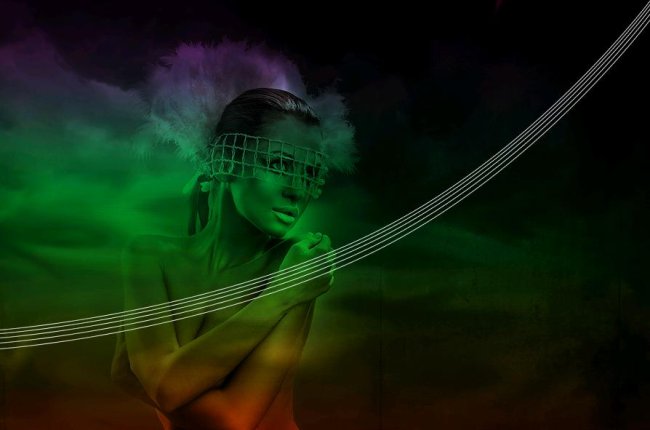
Step11:-
Make 3 more lines following the same process with white color #ffffff.
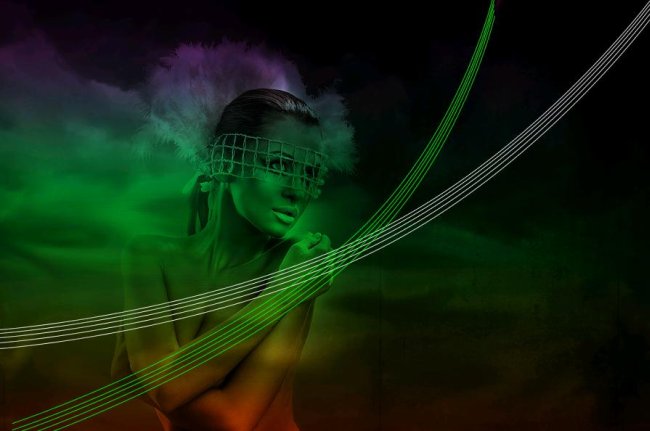
Step12:-
Now we’re going to make another set of lines using the same process which was used for white (follow the shape of the picture shown below). However, this time the color will be green #00ff00.
Step13:-
We are going to make 2 more sets of semi circular lines (as shown in the picture below). The color for one is orange #f26522 and for the other is blue #1392b6.
Step14:-
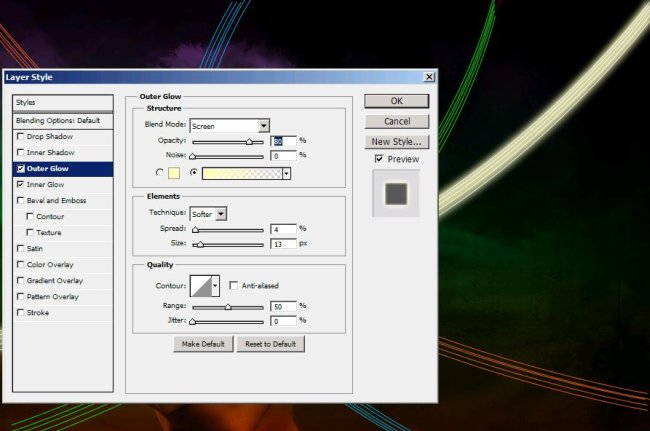
Now we will add outer and inner glow to each set. Use the settings shown in the picture below for every set of lines.
Step15:-
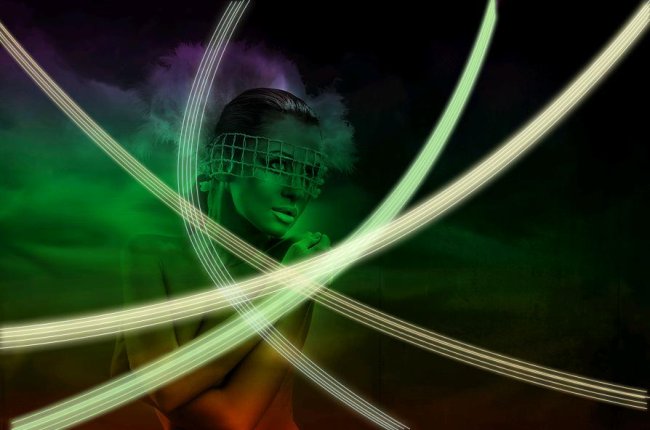
After the glow you should have an image similar to the one shown below.
Step16:-
To add the brightness we’ll sprinkle some stars (made by a star brush of size 10px with color white #ffffff).

There, your colorful glamorous wallpaper is ready. Hope you had fun making it with me. Share your side of story with me. I’ll be back with something fresh and new for you soon. Take care.


