
How to give your text Gold and Diamonds effect
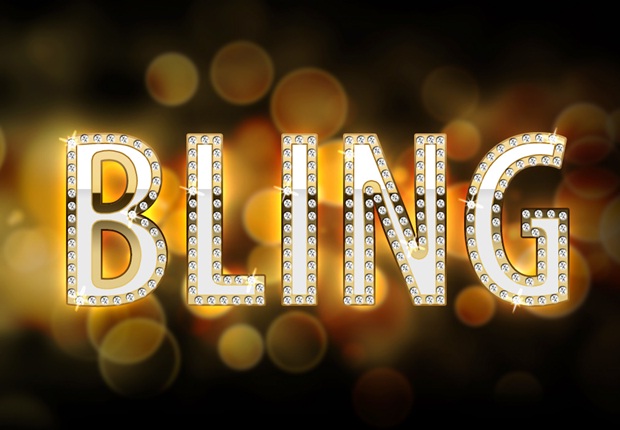
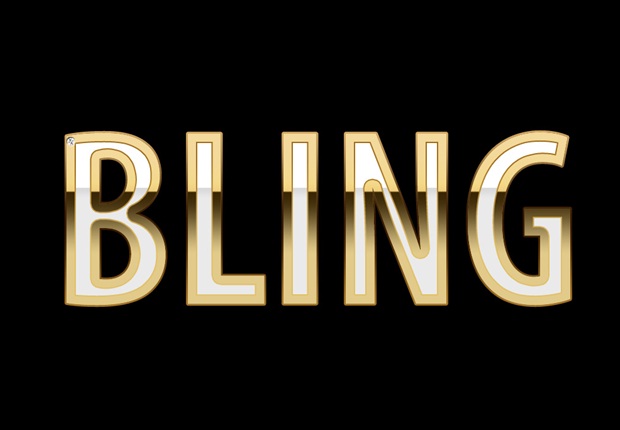
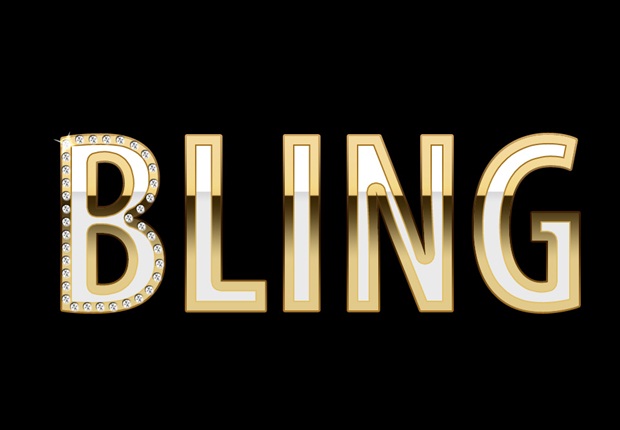
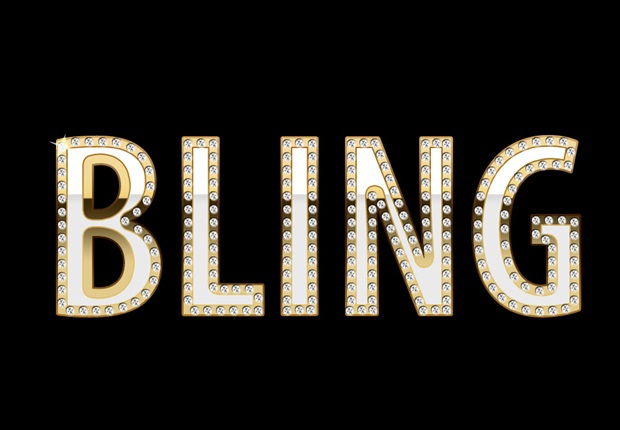
In this tutorial, we will get to know how to create a diamond in Photoshop using the ‘Polygonal tool’ and also how to create gold effect on text. Let’s have a look at our final image displayed below before starting the steps.
Step 1
Create a fresh document of dimensions 800×500 pixels.
Step 2
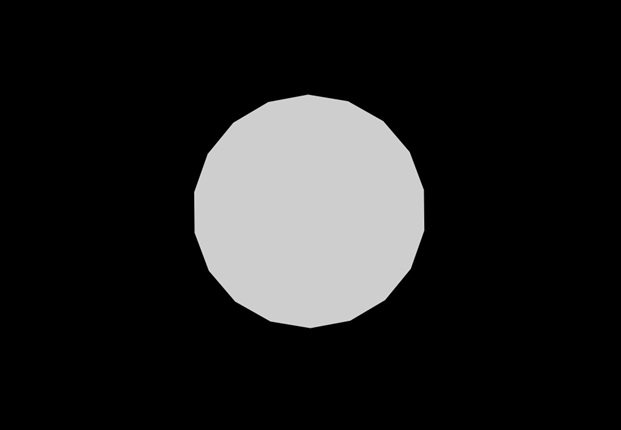
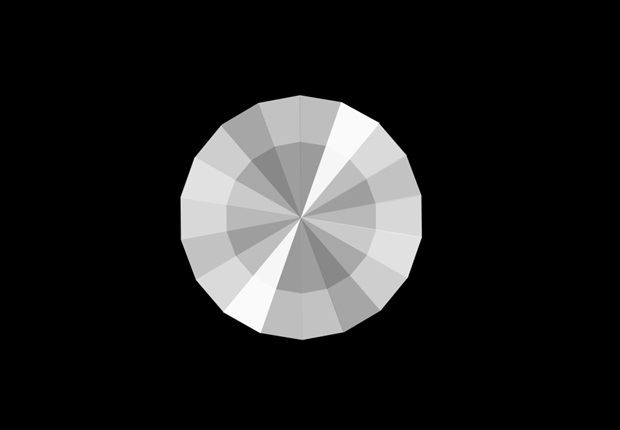
(Creating the Diamond)
1. Select the ‘Polygonal tool’ and set it to the mode of Shape Layers, now you can choose as many sides as you like to, in our case, 18.
2. Use light gray color in the foreground.
3. Make the shape of a polygon now.
Step 3
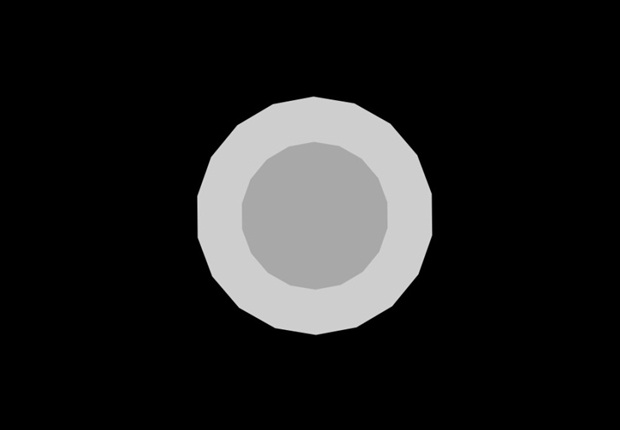
1. Create another smaller polygon shape above the former polygon that we’ve made and now set medium gray color for the foreground.
2. Take the smaller polygon shape to the middle of the larger polygon.
Step 4
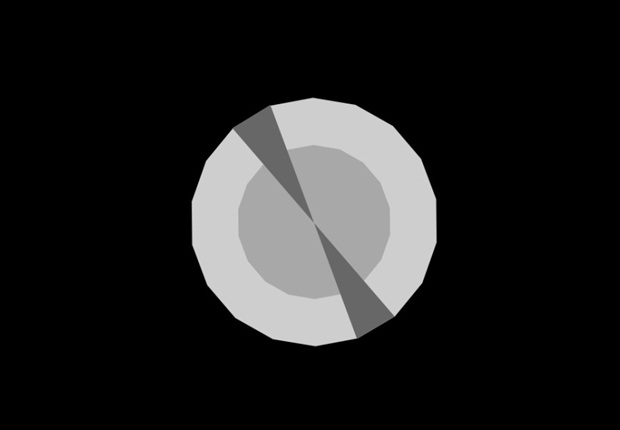
(Creation of diamond cuts)
1. Choose the ‘Pen tool’ and set it to the mode of ‘Shape Layers’ and your foreground color should be dark gray.
2. You have to make a shape by adjusting your anchor points rendering to the pattern displayed below.
3. After that fix ‘Blend mode’ of this shape layer to the Overlay.
Step 5
1. Now complete entire diamond by repeating the similar steps as did before.
2. Then add all of these into one Group folder. Retitle it as Diamond.
3. Now hide this folder transitory.
Step 6
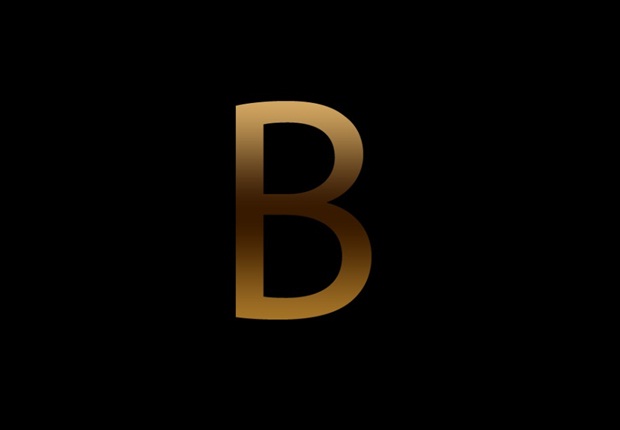
(Addition of Bling Text)
1. Select the Text tool and choose ‘Myriad Pro’ font. Now type a letter in the middle of your document.
2. Select Blending Options for this layer by Right-click on it.
3. Now choose Gradient Overlay, Angle should be of 90 degree and Gradient according to the colors displayed below.
Step 7
1. ‘CTRL plus left’ click on this text layer in order to make a selection.
2. Click on the ‘Select’ option then go to ‘Modify’ and click on ‘Contract’. Set 4 pixels Radius.
3. Create a fresh layer and give light gray color to this selection.

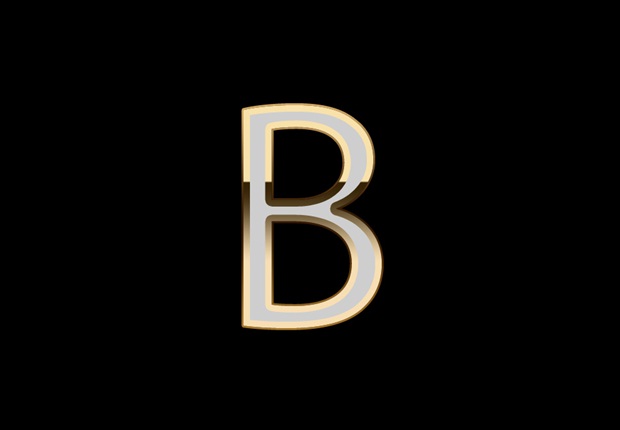
Step 8
1. Right-click on the fresh layer and click on the Blending Options.
2. From here choose Gradient Overlay, set 90 degree Angle and Gradient according to the colors displayed below.
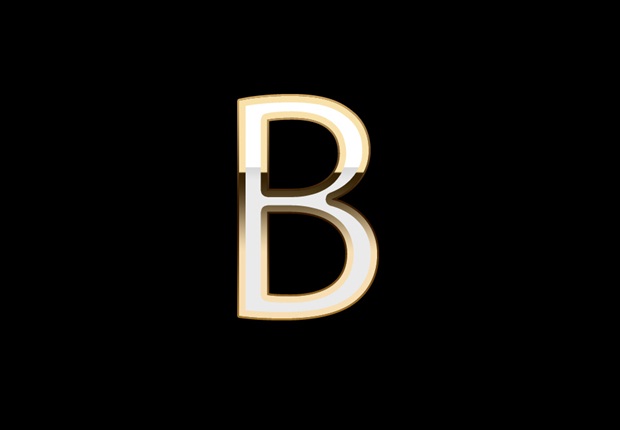
Step 9
1. Now repeat the same step as did before but with 10 px contraction this time. Gradient colors should be like displayed below.
Step 10
1. Unhide your Diamond folder. Right-click on the layer of folder, and select ‘Merge Group’.
2. Click on the ‘Edit’ option then go to ‘Transform’ and then select ‘Free Transform’ to scale down your diamond so that to adjust its diameter according to the width of the gold border.
3. Right-click on the layer of Diamond and select Blending Options.
4. Choose Drop Shadow; set -50 degree Angle, Size to 1, Distance to 2, and rest is left as default settings.
Step 11
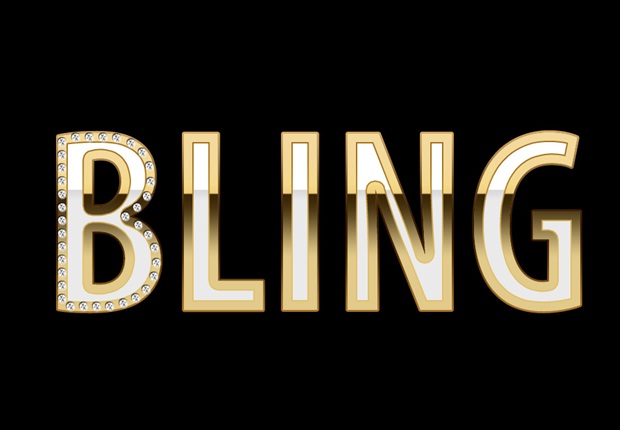
(Adding Diamonds)
We have to add more diamonds to fill them up along the text gold border.
1. Choose the Diamond layer now and select the Move tool.
2. Press and hold ALT key to drag diamond away from its original spot.
Step 12
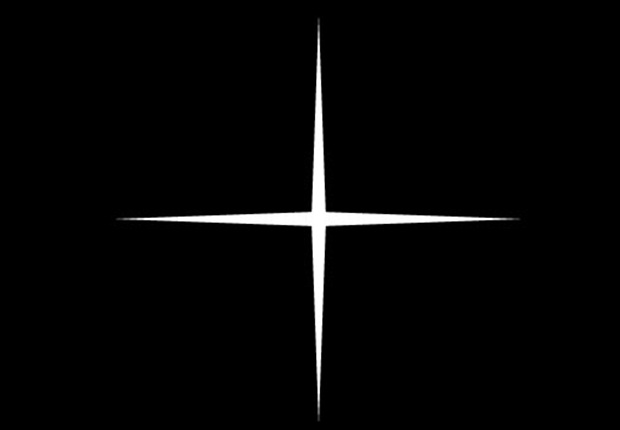
(Adding Glitter)
1. Use the Pen tool to create the shape as shown below with white color.

2. Duplicate (Ctrl plus J) this shape and select ‘Edit’ option then go to ‘Transform’ (Ctrl+T) and then ‘Rotate 90 CW’.
3. Combine these 2 shapes as a single layer.
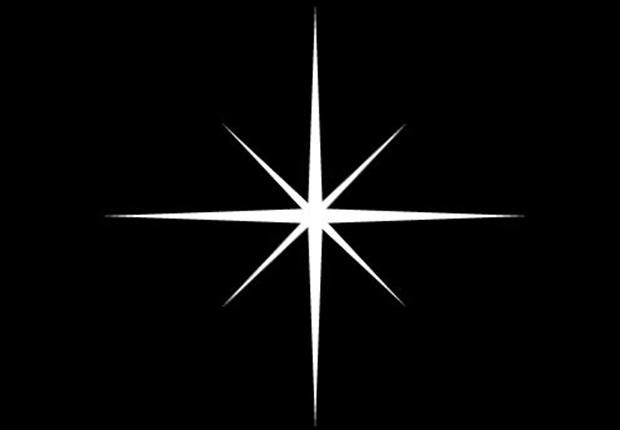
Step 13
1. Duplicate (Ctrl plus J) this cross shape layer, slightly scale it downward and rotate it around 45 degrees.
2. Place the smaller cross to the middle of bigger cross. Join these 2 crosses in a single layer.
3. Retitle this single layer as Glitter.
Step 14
1. Resize the Glitter layer so it perfectly adjusts according to the size of diamond.
2. Select Blending Option for this Glitter layer by right click on it.
3. Choose Outer Glow and key of light yellow tone.
4. Repeat the similar step for more glitter layers and arrange them around the border of the letter.
Step 15
(Final Touches)
1. After all diamonds and glitter layers are applied, you need to merge all these layers into one and select Blending Options. Then choose Outer Glow and fill the settings.
2. Apply any background, which complement your creation.


