
How to create a Vintage Badge
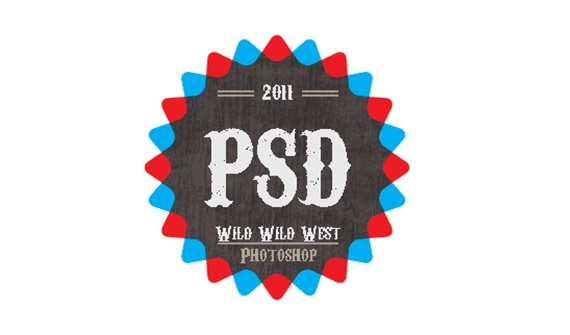
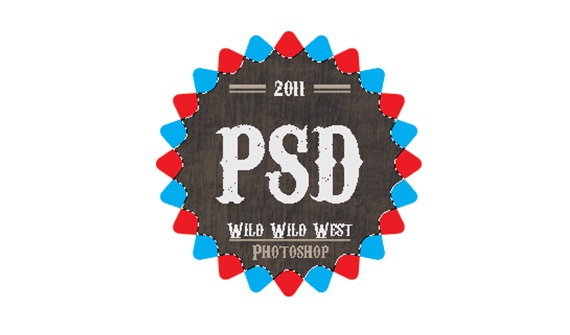
In this tutorial, we would be creating basic images from Adobe Illustrator and taking them to Photoshop, where we would be adding simple text and effects to create a Vintage Badge as displayed below.
Step 1: Create a Basic Shape
Open up Adobe Illustrator and Pick up the Start Tool. Create a star and while still clicking press the up or down key on the keyboard to increase or decrease the number of endpoints. Do not leave the selection just yet. Press CTRL and move the cursor up or down to increase or reduce the size of the end points of your shape. Once you are satisfied with your shape go to Effects, Stylize and choose the option of Round Corner. Once the new window opens choose 2 mm for your edges.

Step 2: Duplicate Shape
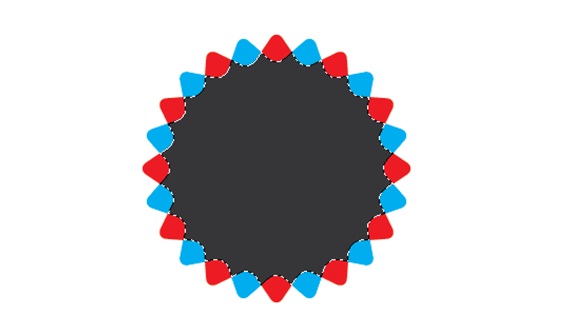
Duplicate the shape that you created and using the transform tool tilt the new shape a little. Fill both the shapes with different colors.

Step 3: Transparency
Select the above shape and go to Window and choose the Transparency option. Use the Multiply Mode and the area of the red shape covered by cyan would automatically turn to gray.
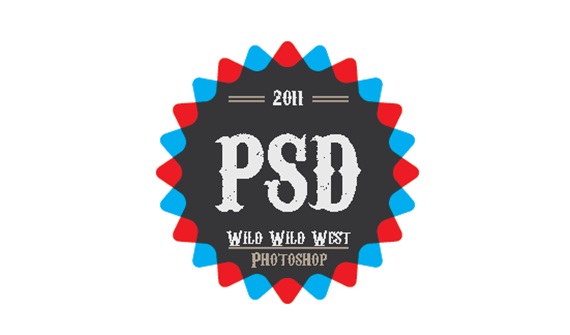
Step 4: Text
Now bring the entire shape to Photoshop. Pick up the text tool and type your text on the badge. For this tutorial, we have used the Font “Carnivalee Freakshow”.

Step 5: Lines
Pick up the pencil tool and use it to make straight lines as shown in the image below.
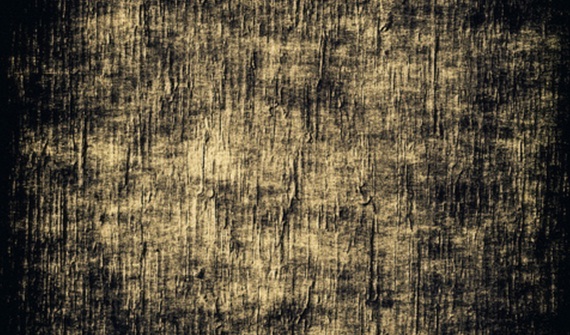
Step 6: Grunge Texture
Download any grunge texture and bring it on the canvas.
Step 7: Selection
Make a selection of the gray area using the Magic Tool. After that, select the grunge paper layer.

Step 8: New Layer
When the grunge layer is selected, press CTRL C and then press CTRL V. This would copy and paste the selection on to a new layer. After that, bring the layer behind the text and lines layer.
Step 9: Blending Options
Change the blending options of that particular layer from Normal to Luminosity and we are done.


