How to create a rainy effect on an image in Photoshop
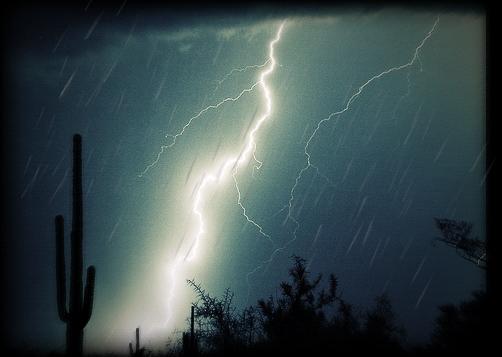
This tutorial is specifically for beginners who would like to know more about creating brushes. In this particular tutorial, we would learn how to make a rainy effect on an image using the brush tool. Below is the final result that you would achieve.

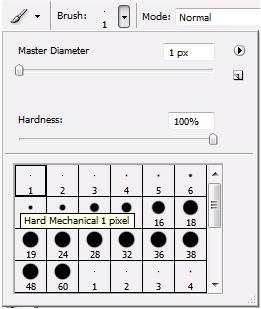
Step 1: Basics
First of all, open a new Photoshop document and set the background of the canvas to black. After that select the brush tool and make sure you select a 1 px radius brush. Make sure the hardness of the brush is set to 100%.
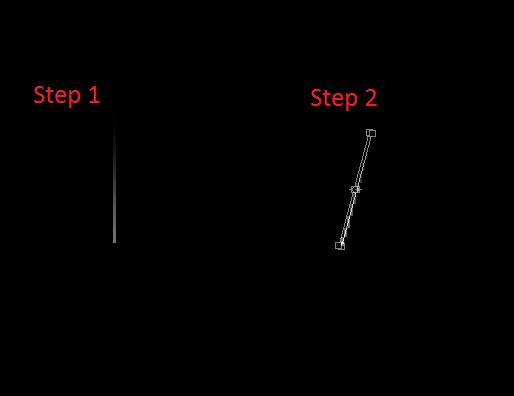
Step 2: Creating a Straight Line
After that, you simply have to make a straight line using the brush tool. This can be done by holding the control (or CTRL) button and using your mouse to create a straight line. After that, you would use the transform tool to slightly tilt the newly created line as displayed in step 2.
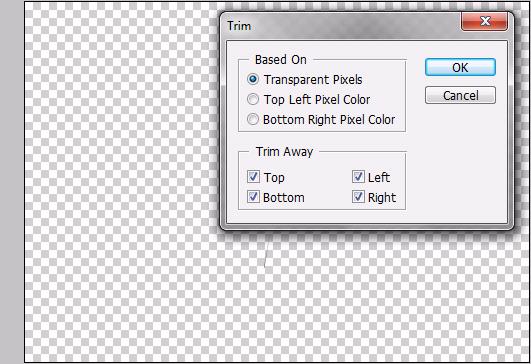
Step 3: Trim
Now all you have to do is to turn off the background layer, go to the Image option and select “Trim”. Once that is done, a new window would pop up in front of you. Use the following settings and select “OK”.
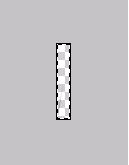
Step 4: Select All
After that, you would have only that area remaining, which covers the object.
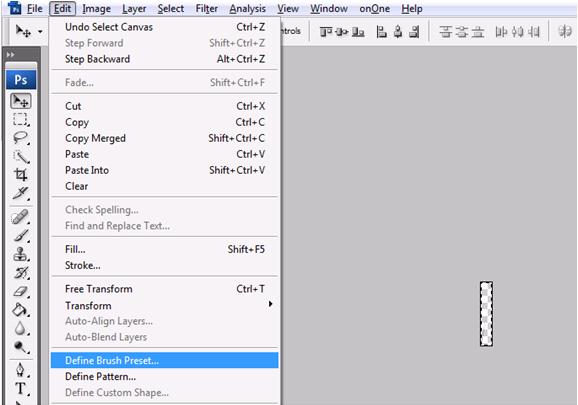
Step 5: Defining Preset
Once you have all the area selected, go to Edit and select Define Brush Preset.
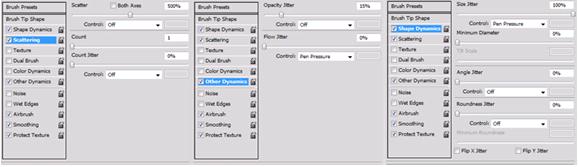
Step 6: Setting The Dynamics
A new window would popup in front of you. Use the following setting for the three options displayed underneath.
Step 7: Creating The Rain Effect
Once your brush has been defined, make a new layer and use the newly created brush to make a rain effect as displayed underneath.

Step 8: Finishing
Include any picture you want in the Photoshop document. Make sure the layer of the image is below the layer in which you have created the rain. Once you are done with this procedure, you can duplicate the layer, transform and edit out the layers until the rain effect looks realistic. Play with the idea a little bit, use different effects and hopefully, you would have something good.