How to create a gorgeous Valentines Wallpaper
In this tutorial, we would be using basic custom shapes and brushes to create this amazing valentines wallpaper. Let’s start now.

Step 1: Background
First of all, use the following gradient for your background.

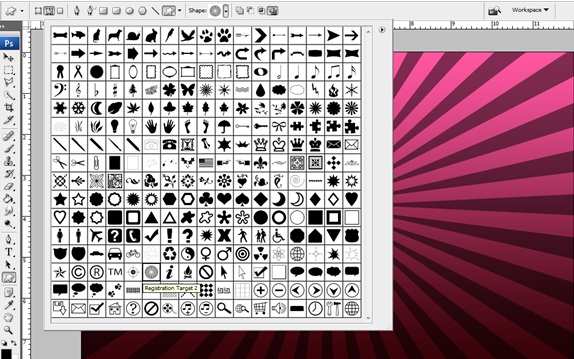
Step 2: Custom Shape
Choose the following custom shape and apply it all over the canvas. Reduce the opacity of the shape layer to let it blend into the background.
Step 3: Heart
Now make a heart shape right at the center of the canvas. You can either make a heart shape using the pen tool or cut out from image. After you are done with the shape, give it a static color overlay. For this tutorial, we would be using the pink color.

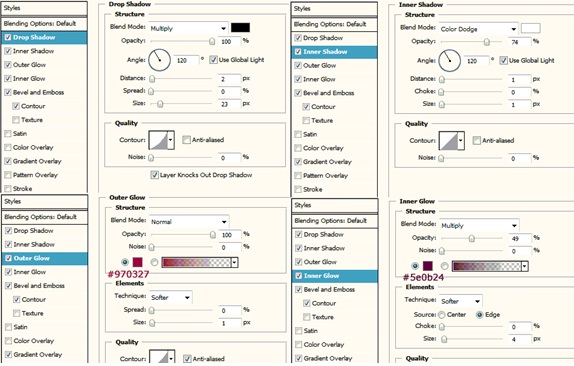
Step 4: Layer Style
Go to the layer style of the heart layer and apply the following details.
Step 5: Output
Once you are done with applying all the layer styles mentioned above, you would get this output.

Step 6: Second Heart
Duplicate the heart layer and press CTRL T. Reduce the size of the new layer and tilt it slightly. Position the duplicated layer as shown below.

Step 7: Brushes
For this step, you would need custom brushes. You can download these brushes from Brusheezy.com. Install the brushes and start applying them one by one on each separate layer. You can use gradients as well as static colors for your brushes. In this tutorial, we have used static colors.

Step 8: Complete Pattern
Continue using the brush tool to fill up the canvas. You can use different colors and gradients for each separate layer you work on.

Step 9: Final Touches
Now we need to add a little bit focus to the overall image. To increase the sharpness of the image first duplicate the entire layer and reduce the opacity of the layer to 30%. Change the blending options of the layer to Luminosity. Add a new layer and color the layer black using the soft brush tool. Create borders and paint around the shape and the heart slightly. Change the blending options to Overlay.