
Give a dancer cool, colorful light effects in Photoshop
Hello people! Today I’ve brought a very cool color full light effect on an image. Of course all these effects are created in Photoshop, so why don’t we start creating it again in this tutorial and you can do it with me. However, before starting we will need an image of a dancer and an image of a fractal, which I got from Google images (so all the rights are reserved to the owner, I’ve just borrowed the image for this tutorial).
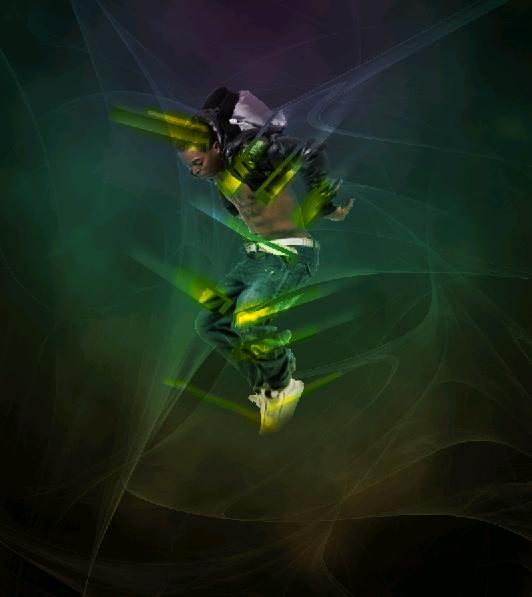
Have a look at the completed image.
Srep1:-
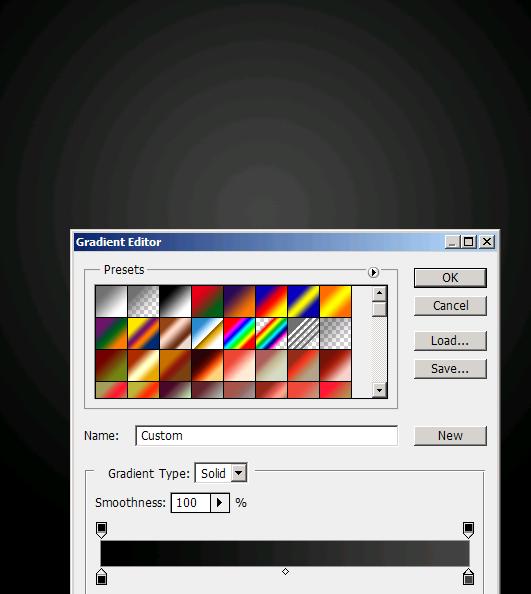
Open up a new document of size 800×900 pixels. Fill it with a radial gradient of black #000000 to dark gray #454444.
Step2:-
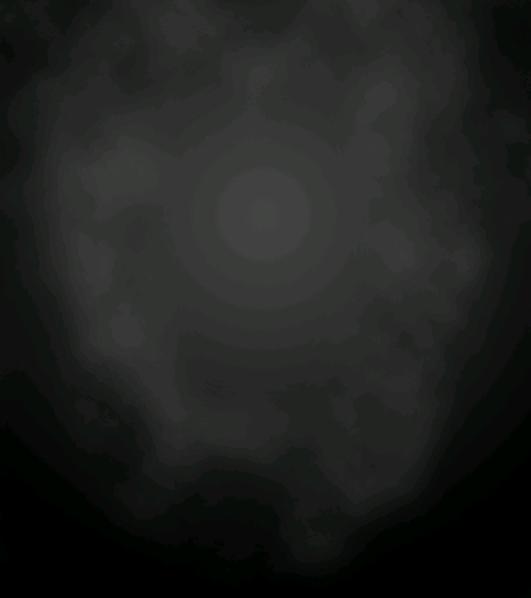
Now go to Filter>Render and select clouds. Set the Blend Mode to Screen and reduce the Opacity to 10%.

Step3:-
Pick up the Eraser Tool and erase some of the clouds from the bottom of the background. (You should have something like the picture below).
Step4:-
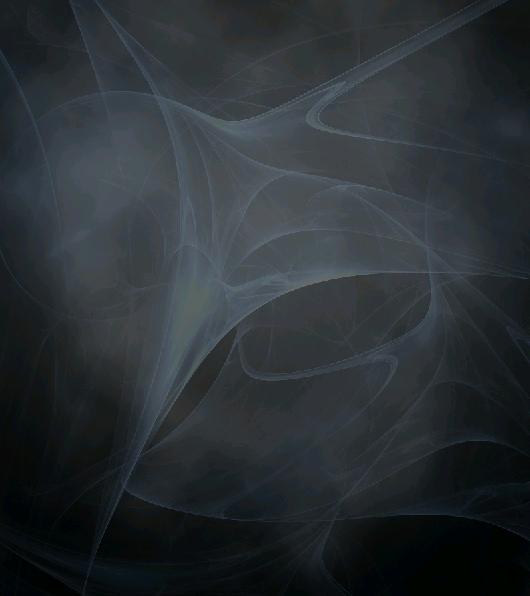
Open up the fractal image and copy the whole image and paste it on our clouded background. Set the Blend Mode to Linear Dodge (Add) and reduce Opacity to 24%.
Step5:-
Okay now open the image of the dancer; select the dancer using Quick Selection Tool and cut the dancer out of its background.

Step6:-
Paste the cutout on our background. Remove the uneven edges with the help of Eraser Tool.

Step7:-
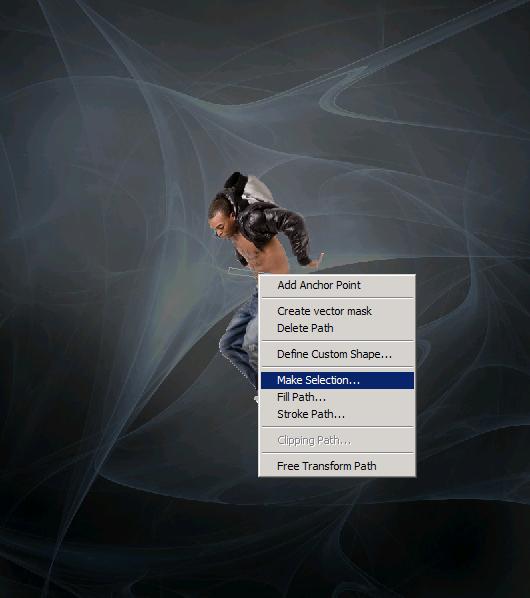
Here comes a bit of a tricky part. In this step we are going to get several pieces out of the dancers. So select a Pen Tool and make a shape like it is shown in the picture below.

Step8:-
Now right click on the shape and select Make Selection.
Step9:-
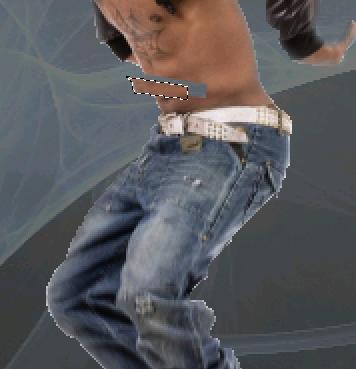
Select Move Tool and move the selected piece a bit down (press Ctrl+d to deselect before going for the next cut). It should look like the picture below.
Step10:-
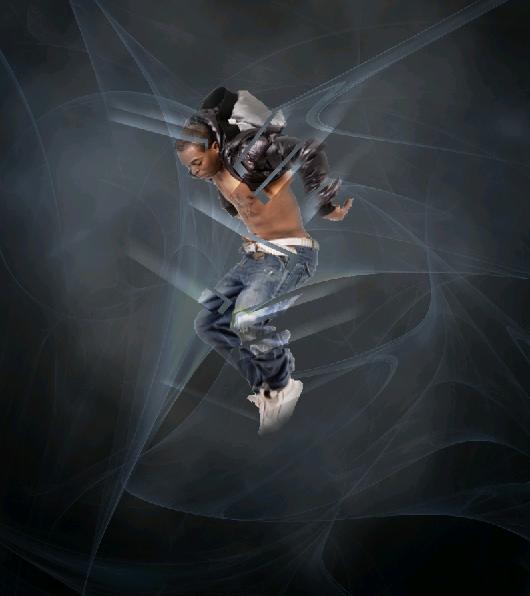
Make several cut pieces like that. After that you’ll have something like the image present below.

Step11:-
Create another layer, name it as light effect. Now select a Rectangular Marquee Tool and make a rectangle shape. Fill it with a gradient of white #ffffff to no-color (as shown in the picture below, I’ve made the image enlarged to make the thing more visible).

Step12:-
Change the direct of the rectangle by pressing Ctrl+t and Move the shape with the help of Move Tool and place it on the cut piece like it is shown in the picture. Do the same process for every cut piece.
Step13:-
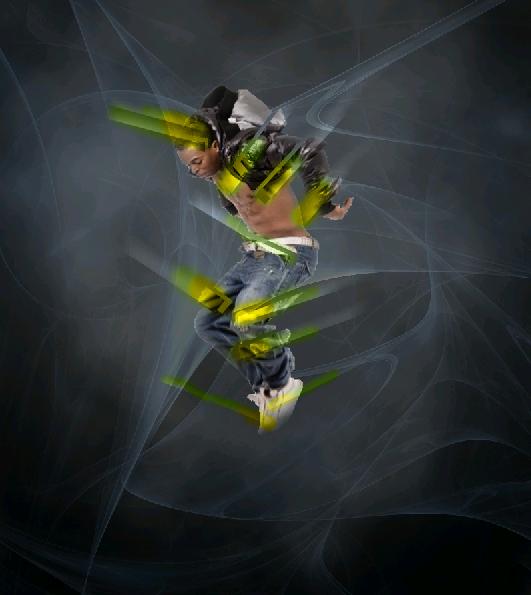
I’ve added a bit of yellow light to give something extra to our light effect. Create a new layer name it yellow light. Just select a soft round brush of size 29px and pick yellow color #ffff00. Set the Blend Mode of this layer to Overlay and reduce the opacity to 70%.
Step14:-
Let’s add more color to our image. Make a new layer and name it color. Fill the layer with a gradient (purple to green to orange) shown in the picture below.
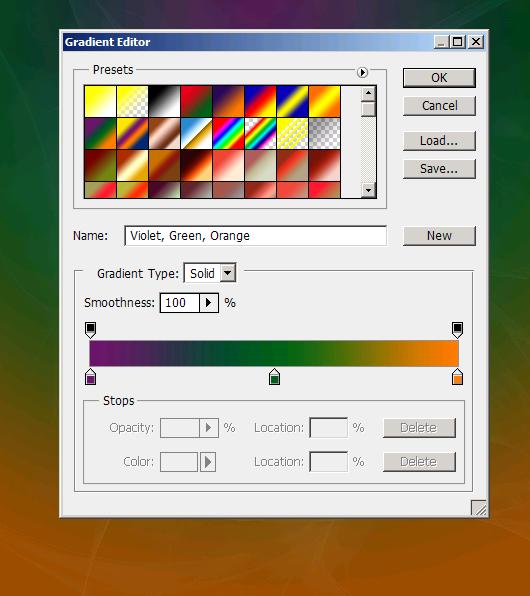
Step15:-
Now set the Blend Mode of this layer to Overlay and reduce the opacity to 60%.

Now our colorful light image is complete. Do share your side of story. I’ll be back with some more interesting effects. Till then you have fun and be creative.


