
Creating a beautiful glamorous wallpaper in Photoshop
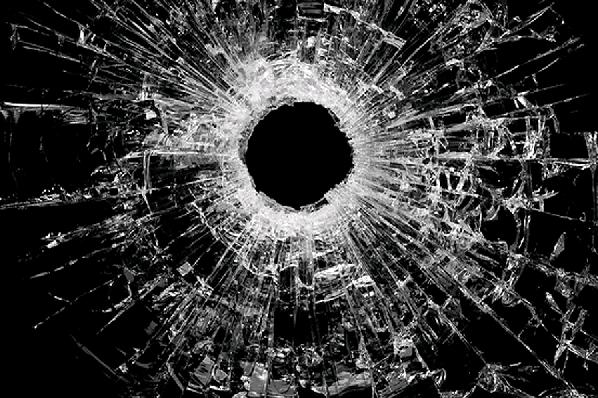
Hi guys! Today we are going to make beautiful glamorous wallpaper in Photoshop. Let’s see what the main ingredients are for it, a beautiful model, an image of a shattered glass (both from bigstock) and Photoshop.
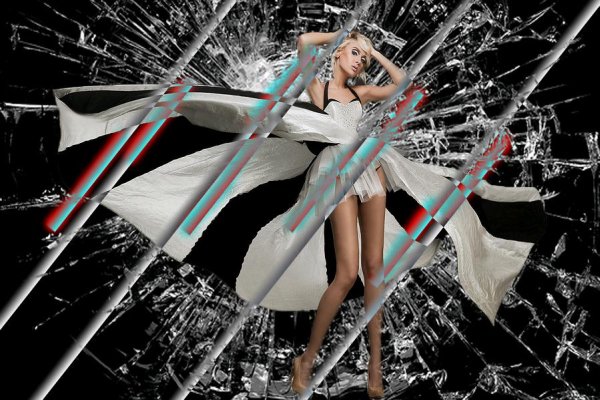
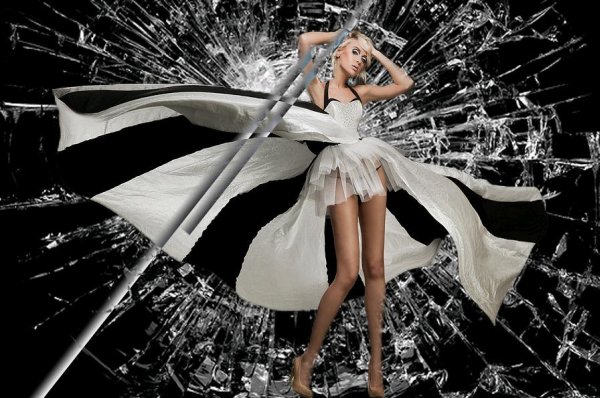
However, before going ahead with tutorial have a look at the finished image.
Step1:-
Let us start with making a fresh new document of size 900×600 pixels. Fill it with black color #000000.

Step2:-
Open the shattered glass image and copy it completely. Paste it on our black background.
Step3:-
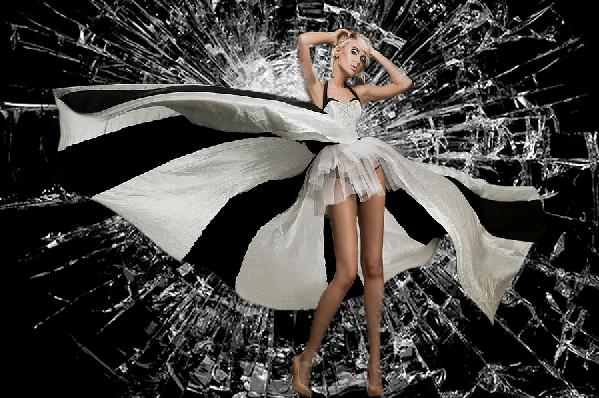
Open up the model’s image and cut the model out of it background using Quick Selection Tool.

Step4:-
Now paste the model on our shattered glass background. Place it in the middle using Move Tool.
Step5:-
Okay now we are going to add some effects and for that, create a new layer, name it beam1. Select Rectangle Marquee Tool and make a long beam as shown in the picture below, fill it with black #000000 to white #ffffff gradient.
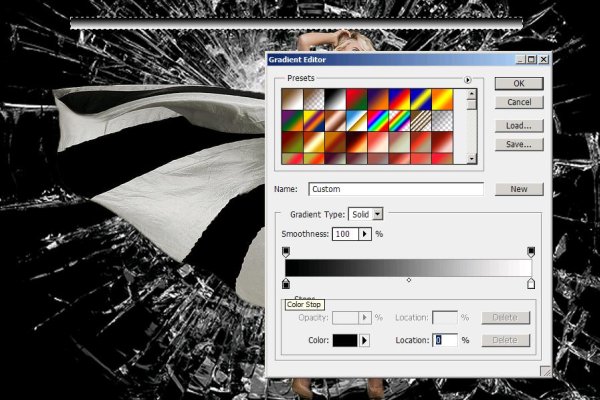
Step6:-
Set the Blend Mode of this layer to Exclusion and leave the Opacity 100%. Now place the long beam according to the picture shown below.

Step7:-
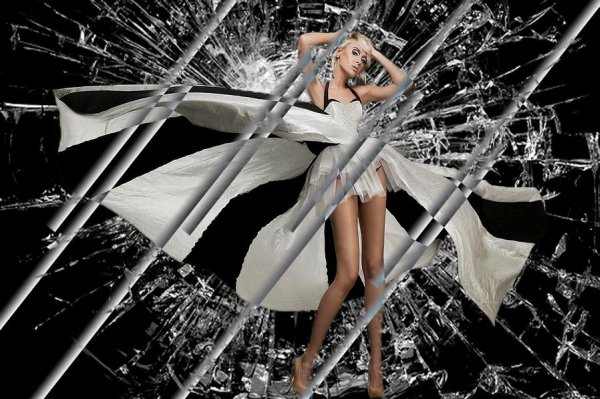
Now copy this beam and place the copied beam according to the picture shown below.
Step8:-
Repeat the process of step6 and 7 and make 3 more sets of beam. Place each set according to the picture given below.
Step9:-
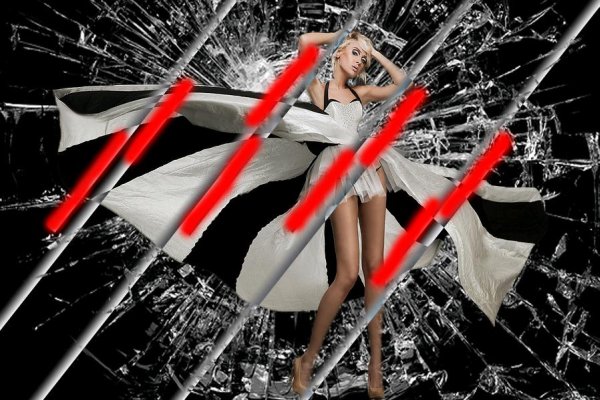
Now we will give some extra color to our beams. Create a new layer and name it colored light. Choose a soft round brush of size 29px with red color #ff0000 and paint the tips of the beams as shown in the picture below.
Step10:-
Now set the Blend Mode of that layer to Exclusion, leaving the Opacity to 100%.

There you have it. Your glamorous wallpaper is ready. Hope you had fun making it. Do share your thoughts and suggestions. I’ll be back with yet another fresh effect of Photoshop for you, till than have fun.


