
Alien Invasion on Hong Kong created in Photoshop
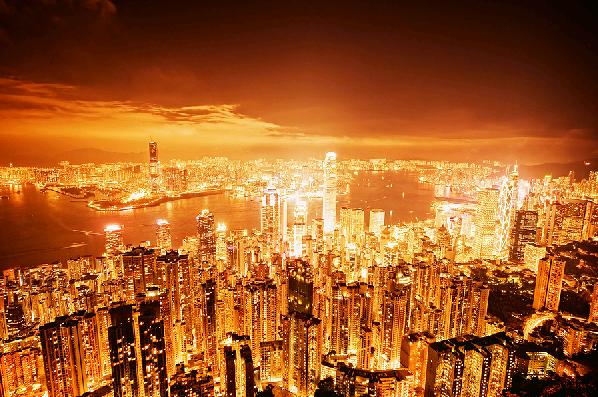
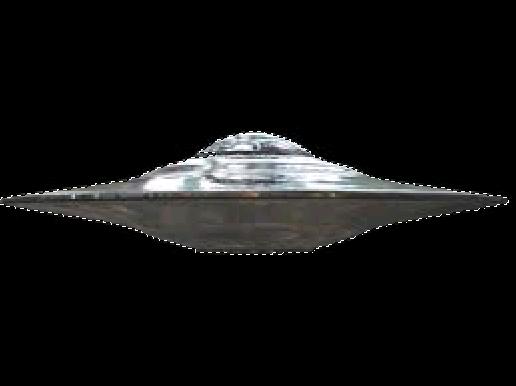
Hi friends! Today we are going to create an alien invasion scene in Photoshop, a greatly fun Image to create. So are you ready to attack?? Wait before you charge ahead let’s see what are the things (or should I say artillery), we need for this Invasion (I mean image ![]() ) an image of the city of Hong Kong which I’ve taken from bigstock, an image of a spaceship (I’ve taken that from Google images, so all the rights are reserved to its rightful owner) and an image of clouded sky with of course our Photoshop.
) an image of the city of Hong Kong which I’ve taken from bigstock, an image of a spaceship (I’ve taken that from Google images, so all the rights are reserved to its rightful owner) and an image of clouded sky with of course our Photoshop.
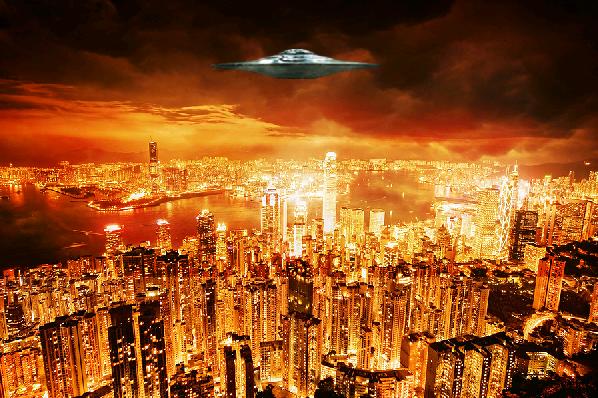
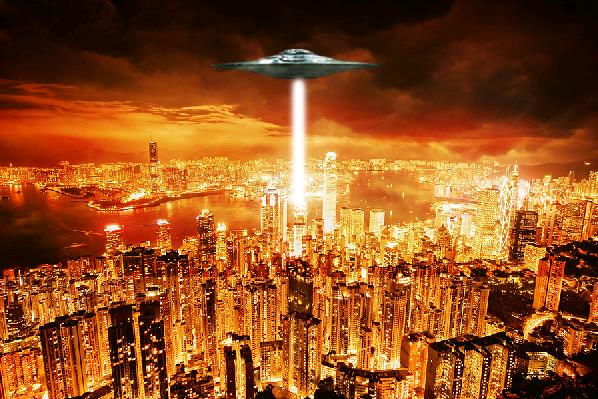
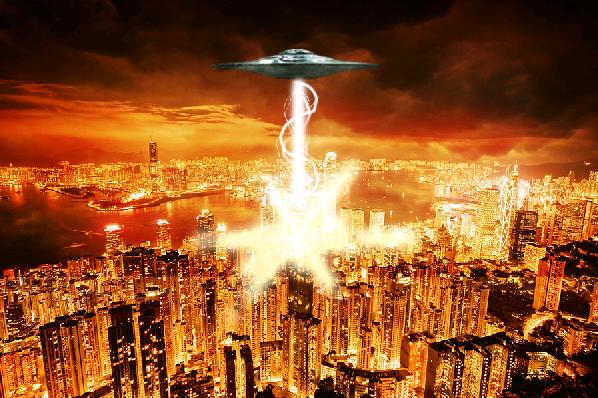
Before going ahead let’s have a look at the final picture.

Step1:-
First of all create a new document of size 900×599 pixels. Leave it unfilled.

Step2:-
Open the Hong Kong city picture in Photoshop, select the complete image using Rectangle Marquee Tool and copy it. Paste the city image on our empty background.
Step3:-
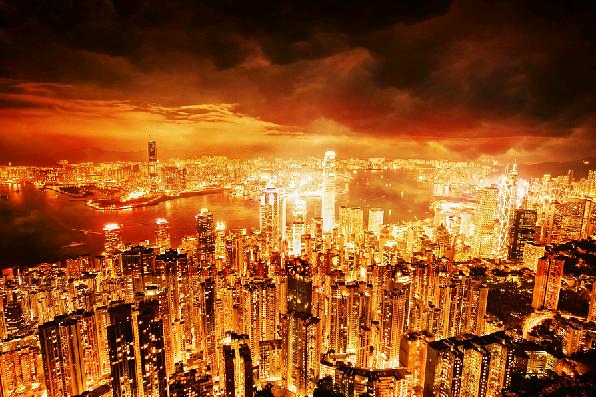
Open the clouded sky image next and select the whole image and after copying it go to our working image and paste it on the city.

Step4:-
Set the Blend Mode of the clouded sky layer to Overlay and Leave the Opacity to 100%.
Step5:-
Now open the spaceship picture, select only the spaceship using Quick Selection Tool and copy it.
Step6:-
Paste it on our working image and re-size it according to the picture shown below by pressing Ctrl+t.
Step7:-
Okay now we are going to create the invading white beams, for that select a soft round brush of size 25px with color white #ffffff. Make a straight line from spaceship down to the city as shown in the picture below.
Step8:-
Now we are going to add some other circular rays to the main beam, for that select a hard round brush of size 5px with color #ffffff. Use Pen Tool to make it circular.
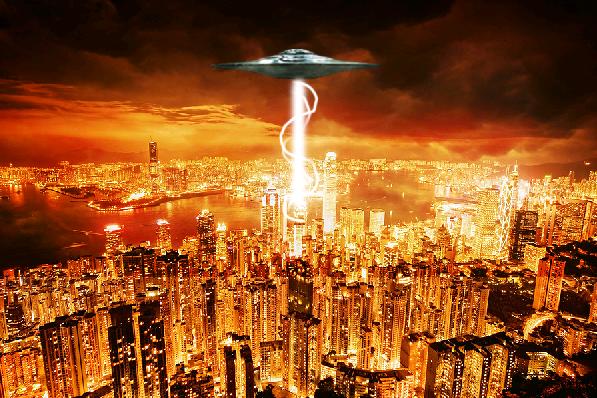
Step9:-
Again we will add some more narrow circular rays or light to our main beam, select hard round brush of size 1px with color #ffffff. Use Pen Tool for these also.

Step10:-
Now we’re going to create the explosion or impact of the beams. For creating that, Make another layer, name it impact and choose a round point stiff brush of size 13px with white color #ffffff.
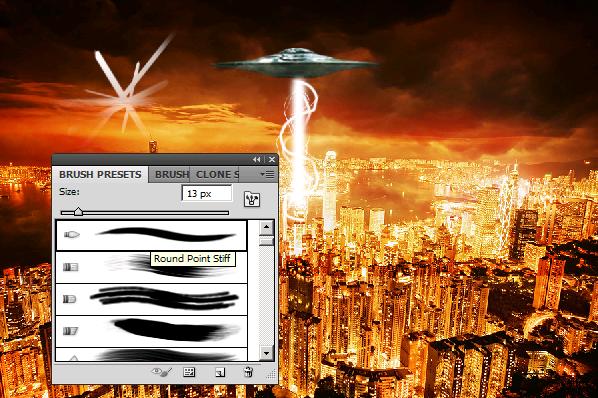
Step11:-
Use Pen Tool for straighter lines and create a 6 or 7 pointers star as shown in the picture below.

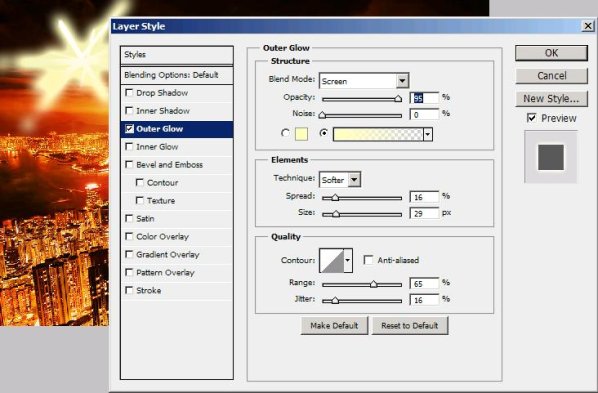
Step12:-
Right Click on the layer and go to Blending Options, select the outer glow and set it according to the picture shown below.
Step13:-
Place the impact glow at the end of the beam using Move Tool.
Step14:-
Now Make a group of all the lights and beams we just created (click on the first beam layer, press Shift key and then click on the last layer of impact glow), go to Layers >New>Group from layers and name this as beams or rays (your choice).

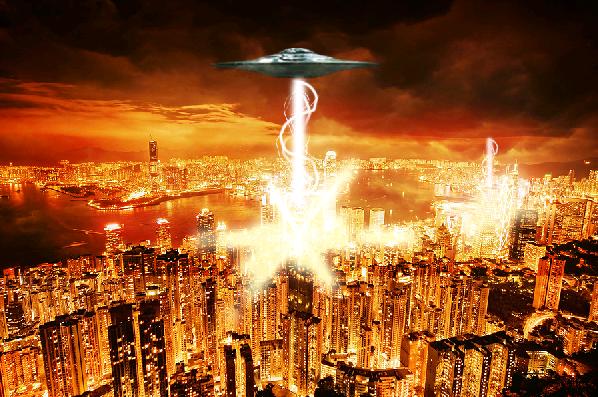
Step15:-
Now go to the beams group and Right Click on it and select Duplicate Group, name the copied group as 2nd beams impact. Place these grouped lighting according to the picture shown below. Reduce its Opacity to 81%.
Step16:-
Open up the spaceship again select it and copy then paste it on our working picture on the tip of our 2nd beams impact.

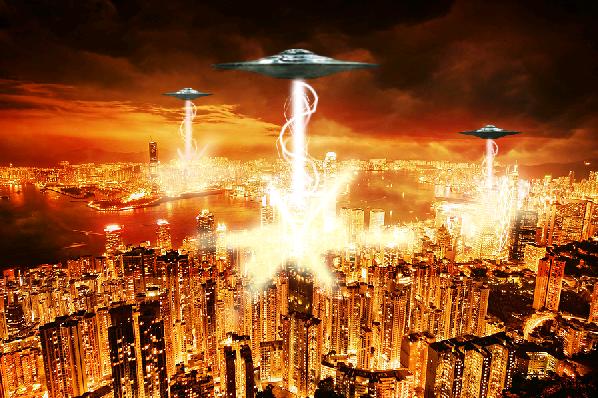
Step17:-
Again Duplicate the beams group (as done in step 15) and name it 3rd group of beams. Repeat the process of step15 and 16 for placing the spaceship and 3rd set of beams. Place it according to the picture given below.
Now our Invasion is complete, hope you had fun with me. I’ll be back soon with another interesting image for you guys. Till then do take care and be creative.


