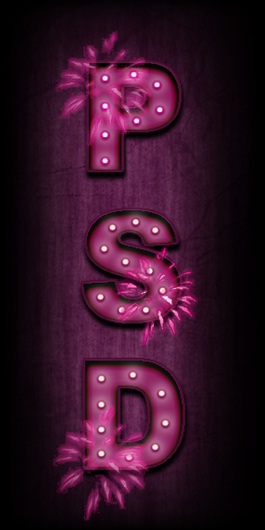
Learn how to make Casino Style Typography
In this tutorial, we would show you how to make a simple light effect using basic effects and various blending options in Photoshop.

Step 1: Basic Text
Color the background black and select the type tool. Use the font “Impact” and type in whatever you want to.

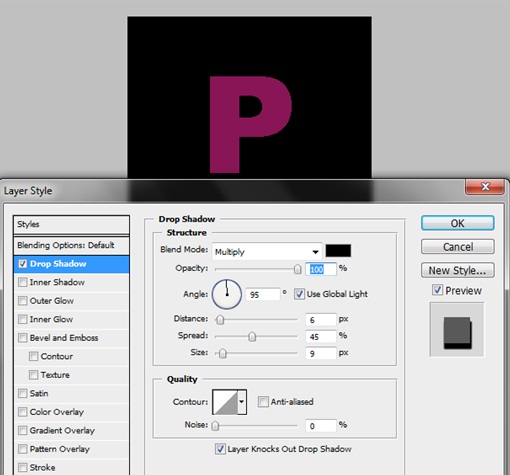
Step 2: Layer Style – Drop Shadow
Now it’s time to do a little layer styling. First of all, we would take care of the drop shadow. Use the details as given below.
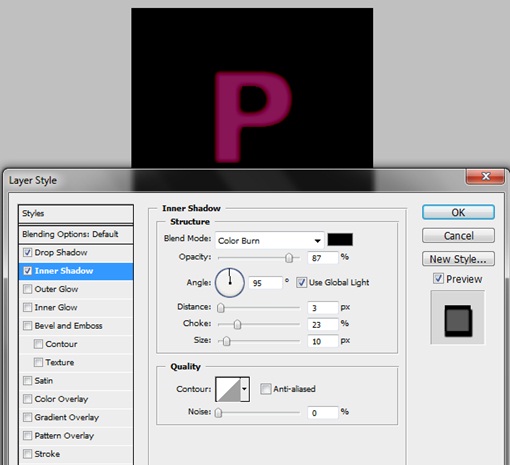
Step 3: Inner Shadow
Tick on the Inner Shadow check box and input the following details.
Step 4: Bevel And Emboss
Select the Bevel And Emboss option and use the following details.

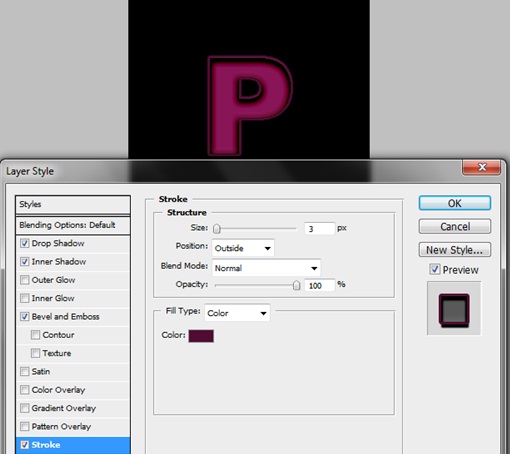
Step 5: Stroke
Last of all, we would need to add the stroke to our font. Tick on the Stroke check box and use the following settings. Keep the stroke of lighter color then the one you are using for your font.
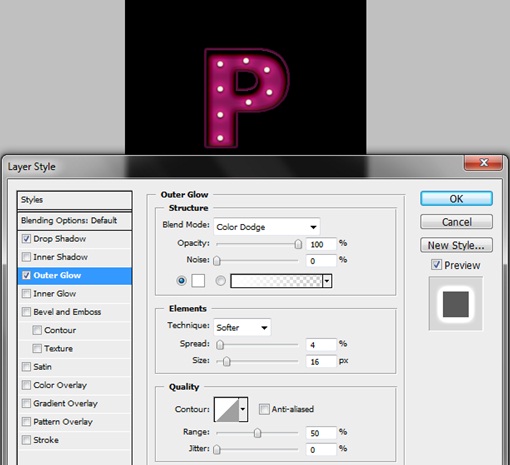
Step 6: Making Light Bulbs
Use the Ellipse tool to make circular shapes as shown below. On each shape apply the following layer styles.
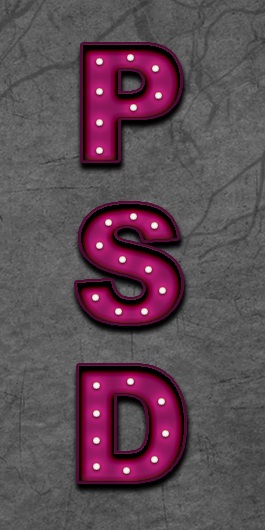
Step 7: Adding a Backdrop
Use any textured image and bring it in the canvas. Desaturate the image by selecting the layer and clicking on CTRL U. Keep the Saturation to -100.
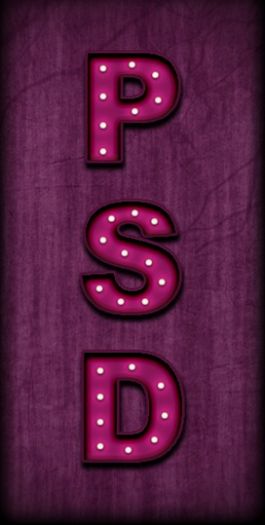
Step 8: Adding Depth
Make a new layer in front of the backdrop layer and fill the layer with the same color as of the font. Go to the blending options of the layer and select “Overlay”.
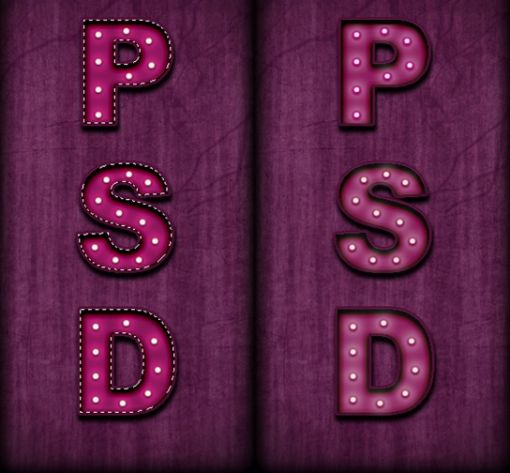
Step 9: Gaussian Blur
Duplicate all the layers used for making the light bulbs and merge them all into a single layer. Go to Filter, Blur and choose the Gaussian Blur effect. Go back to the original font and press CTRL while right clicking on the layer. This would load the selection of the font. Now go to Select and choose Inverse. Pick up the eraser tool and erase the blur effect from all over the canvas. This way the blur effect would only be visible inside the font as shown below.
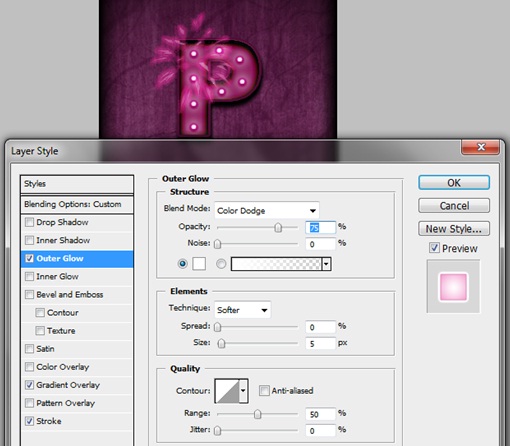
Step 10: Brushes
I have downloaded a brush set for this tutorial.
You can use any brush from this particular collection and include it in the image. Add a new layer and apply the brush on the letters. Use the following layer styling. Make sure the gradient and the stroke color match with the background and the color of the font.
Step 11: Final Touches
Add a new layer at the very top of the image and color the borders of the image with black color. Make sure the hardness of the brush is kept to 0%. Once you are done, change the blending options of the layer to “Overlay”. And you are all done!